Showing posts with label DIY. Show all posts

Sunday, October 18, 2015

ElliesAlley

I've started a new adventure. My Grandma Morris taught me and my sister to sew when we were 8. We made matching tops and scarves for our 4-H project. Got a blue ribbon by the way. Growing up my Grandma Mellinger would wear an apron everyday over her dress. Both Grandmothers loved to garden, freezing or canning what they grew. And, I consider both of them to be very crafty and creative. Which leads me to my new adventure. I've taken my love of sewing and memories of days gone by and created ElliesAlley. 


In my shop https://www.etsy.com/shop/ElliesAlley  you'll find Aprons and Home Decor. I also have a Facebook page www.facebook.com/ElliesAlley .
Please swing by both sites for the latest apron I've sewn or a new recipe and much more. You may not see new posts on the Lindaloo blog but don't worry. Follow me on Facebook, like my page and feel free to comment. The more you do the more you will see my posts in your feed. Or you can always search for ElliesAlley on Facebook. I'm hoping to reach new and old friends so feel free to share my Facebook posts!


Thanks for checking in on me. 

Linda

Etsy.com/shop/ElliesAlley
www.facebook.com/ElliesAlley


Monday, August 3, 2015

Paneling Art

 
I love crafts and DIY projects that cost little to nothing. This won't surprise you but several years ago when my husband had gone out of town on a business trip, I wanted to see what was behind the paneling in the family. Man, did I hate that dark paneling. It had to go. I quickly found out there wasn't anything behind this 3/4 inch think tongue in groove paneling. I am sure back in the day this stuff was the cat's meow. But in my lifetime, uh no. My hubby now says he's afraid to leave town as he doesn't know what I will do next. HA! We sold half of the paneling that some guy quickly purchased from Craigslist. Now I am wishing I had kept ALL of it. It really comes in handy. As you know I used it for the serving tray. And here it is again. Those that have pallets may use pallets. I choose my old paneling. I selected my pieces and used my big girl tools to cut them. I went with 16X16 end square size.


I then cut some thin plywood (yes, from my stash) to mount the paneling on.


Now use some construction adhesive and glue them on. I taped them together to make sure the tongue in groove was settled together. 


After making sure this had dried well I took them outside to sand off all that dark stain.


Now I had to decide what would be my design. And then which one would I choose. I printed these off of images I found on the internet. 


I went with "A" and made a stencil. I happened to have stencil material in my stash. Have you figured it out yet? I have alot of stash. :) Trace it on. Cut it out. Easy peasy!


Now get out the craft paint of your choice and stencil away! I had a spouncer that is basically a round foam piece on the end of a handle that I use to stencil. Less is more remember when applying paint. You don't want it to bleed under your stencil. AND be sure to tape your stencil in place so it doesn't move.

I couldn't just leave it like this. I wanted to add a Bible verse. This would make the perfect gift for my nephew, Nathan. His confirmation was coming and I would trace his verse on this for his gift. Print it out how you think it will fit on the wood and where you want it. 


Now, turn your paper over and take a pencil and draw over the words. Make sure you get it good and think.


Tape it in position on the paneling and trace over the words using pressure.


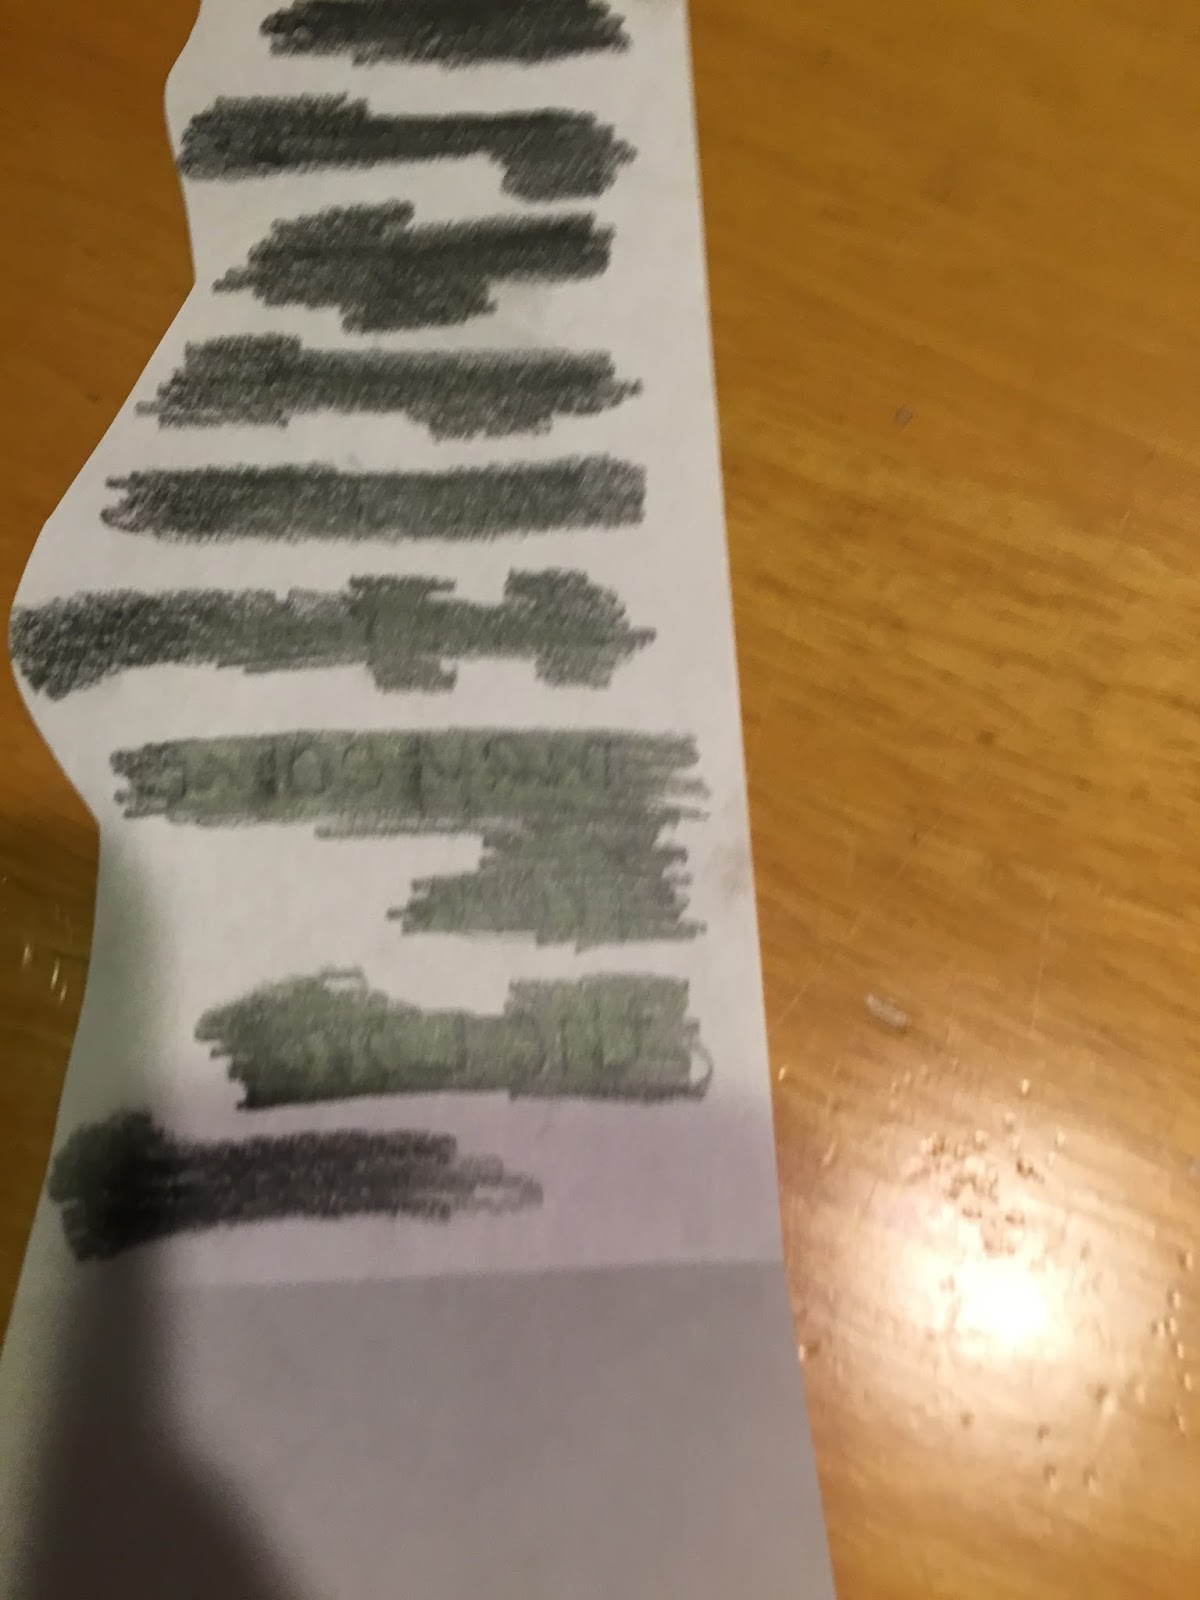
Take a peek. You should be able to see the lettering enough that now you can take a sharpie and trace the tracing. 


I put two small screws on the back and wrapped picture hanging wire around them as a way to hang it. 


Even though the invitations said no gifts....who can go to a celebration like this and not commemorate it. 

God bless you Nathan!

Love, Aunt Linda


Friday, July 24, 2015

Project Potatoes


I have been talking about this project with many of you for it seems like since  last winter. Of course I did not come up with this project on my own. Pinterest, too many projects, too little time. This is the post I got it from. I believe the Seattle Times originally posted this info. We have harvested our first round of potatoes. So get your big girl (or boy) tools out and let’s get started. This project was started on March 14th. Plant as early as March or as late as August 1, with an approximated 3 month till harvest turnaround time.

 Here is what you will need:

Six- 2 inch by 6 inch boards, 8 feet long
One – 2 inch by 2 inch, 12 feet long
2 ½ inch wood screws, glavanized so they won't rust.
Cost? I can't remember exactly what we spent on wood but it was more than I thought it would be. Maybe $30. But if this works I'll be able to use it over and over each year.

Seed  potatoes of your choice. We choose Yukon Gold. Total cost of seed potatoes…99 cents.
Garden soil.


Cut the 2X2 in 33 inch lengths. You should now have 4 – 2X2’s. Next cut your 2X6”s. You need 12 lengths of 21 inches and 12 lengths of 24 inches. 


Now we’re ready to build. Predrill the screw holes in the 2 X 6’s. Attach to the 2 X 2. 


I would have typically done most of this work from here on out but at the time I was dealing with back issues. Just bending to cut the wood was not what my body was wanting to do. So I called hubby in for duty. He’s such a good sport. And afterall he will be eating these delicious gems. 


Now, finish the foundation of the box by adding the other sides. 


I have to tell you I splurged on my soil. I purchased bags of organic potting soil. I wanted something that drained well. And to be honest my garden is full of a lot of clay. This did add some expense to the project but it will be well worth it and I will be able to reuse most of it year to year, adding some of my compost for nutrients. 

Pick your potato box location. Till up the soil a bit. And here is where I added a bit of my potting mix. Now add your seed potatoes.  I cut my potatoes in half and spaced them as so. Cut apart larger seed potatoes, making sure there are at least two eyes in each piece you plant. Give them some water and wait for the magic to happen. 

I love to see the plants peek through the soil.


Once the green plant grew to about 12 inches tall, go ahead and add another round of  boards. This is level 2. And gently put soil to fill. I tried not to break my plants. I was afraid I’d kill them if I did but maybe they would just root and keep growing?  I did not want to chance it. I was determined to see that 100 pounds of potatoes. I'm not sure of when I did this step but I am thinking sometime late April.

Twelve more inches of growth and add another round of boards (level 3) and more soil. It is now May 18th.  

Twelve more inches of growth and add another round of boards (level 4) and more soil. Sometimes life gets crazy. The round of boards are not added yet in this photo because we were on vacation. But it should have been added on  May 25th. It is actually June 1st. That is why the growth is so crazy tall. 


Twelve more inches of growth and add another round of boards (level 5) and more soil. It is now June 1st.  We have had an unreal amount of rain this spring and early summer so I have not had to water at all. I also have an underground spring running  the length of my property where the garden is so….BONUS!! However if your conditions are dry I would recommend watering once a week with well draining soil. 


Twelve more inches of growth and add another round of boards (level 6) and more soil. This is your last set to add. Confession time…again,  life gets in the way. I never did put that top round of boards on. Too late now? I don’t know. Maybe I will get a wild hair and decide to do it this weekend. Or not. ;) 

Okay, the day we have been waiting for!!! We took off that lower board. It is  July 13th. 


Why is it I am always so surprised when things grow? God planned it that way for us right? I dug into the one board we had removed and found potatoes! From small to large. 


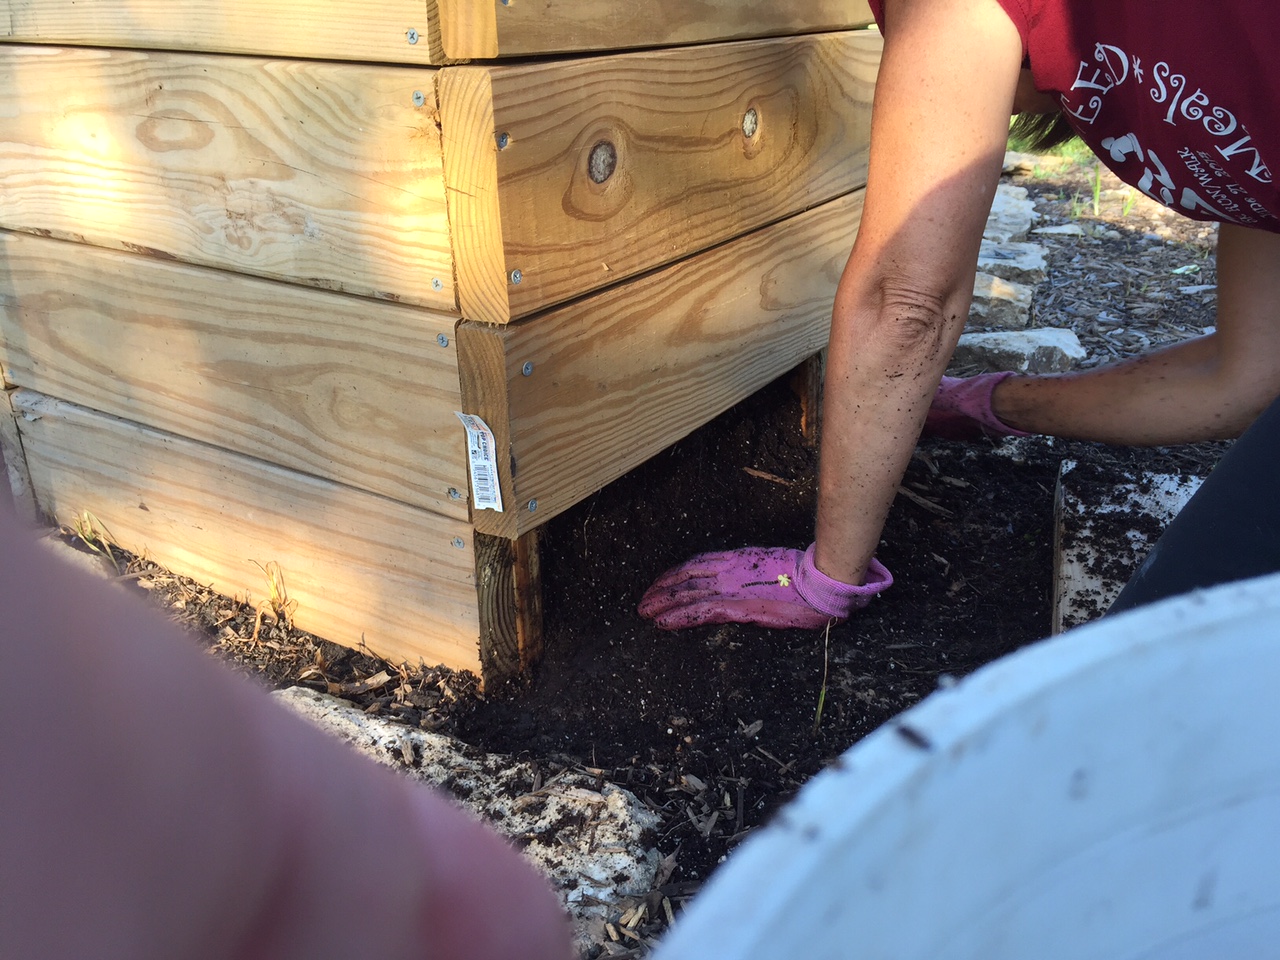
It finally comes in handy. My small arms and hands that is. I dug about to the center removing potatoes and dirt as I went. 


I put the dirt back in and screwed the board back in place and decided to go to the opposite side and remove that board to dig to the center. 

We got 10 pounds of potatoes in this first go round! Again, why am I so surprised?  We had potatoes for dinner that night. Yummy!


I hope our luck continues. I’ll continue to update this post as we continue the harvest. So check back in.

Ok, It is now July 22nd. I'm a little worried as I have been reading other blogs about this project not good news. So I headed out to the garden. Took that second board off of both sides and found this.

Ugh! See that tiny thing. Poor baby. It must have been lonely in there all alone. If I had more time I would have taken the 3rd board off but I expect to find even less. Disappointment for sure. But no one can call me a quitter. I am already thinking of how I can improve this. This weekend I want to remove the rest of the boards and see if there are potatoes. If not I plan to find some more seed potatoes. One blog I read said it had to be a certain type of potato but never said what type. Another school of thought is not enough air circulation. Another blogger made his potato tower with wire caging and had success. Some say to add straw in layers with the soil. I will talk to the experts at my local garden center when I buy more seed potatoes. 

Here are a few more thoughts on the subject I found.
Dust the cut pieces with fir dust, which seals the open ends from bacteria.
Fertilize with 10-20-20 fertilizer at planting and a couple of times during the season.
Water so that the plants are kept at an even level of moisture.
Don't plant in the same area in consecutive years or use the same soil to fill your potato box, as potatoes can attract various diseases.
Yukon Golds, and all early varieties set fruit once and do not do well in towers. You only get potatoes in the bottom 6 inches, which is what I got so far. Late season alternatives to yukon gold are Yellow Fin and Binjte.

Check back in. I'm not done yet!!


Linda


Related Posts Plugin for WordPress, Blogger...