Showing posts with label Refashion. Show all posts

Sunday, October 18, 2015

ElliesAlley

I've started a new adventure. My Grandma Morris taught me and my sister to sew when we were 8. We made matching tops and scarves for our 4-H project. Got a blue ribbon by the way. Growing up my Grandma Mellinger would wear an apron everyday over her dress. Both Grandmothers loved to garden, freezing or canning what they grew. And, I consider both of them to be very crafty and creative. Which leads me to my new adventure. I've taken my love of sewing and memories of days gone by and created ElliesAlley. 


In my shop https://www.etsy.com/shop/ElliesAlley  you'll find Aprons and Home Decor. I also have a Facebook page www.facebook.com/ElliesAlley .
Please swing by both sites for the latest apron I've sewn or a new recipe and much more. You may not see new posts on the Lindaloo blog but don't worry. Follow me on Facebook, like my page and feel free to comment. The more you do the more you will see my posts in your feed. Or you can always search for ElliesAlley on Facebook. I'm hoping to reach new and old friends so feel free to share my Facebook posts!


Thanks for checking in on me. 

Linda

Etsy.com/shop/ElliesAlley
www.facebook.com/ElliesAlley


Saturday, November 15, 2014

Sweater Skirt


I've been looking at all these "pins" that showed how to make a skirt out of a sweater and my love of sewing just wouldn't be complete until I made one. So while Mom-in-law was getting her hair done while here on a visit I slipped down to the thrift store. I ended up buying to men's sweaters and and chair and only spent $29.00. So after throwing the sweater in the wash and buying 2" wide elastic here is what I did...

First cut off the sleeves.

Then, decide how long you want the skirt to be, measure and cut. Remember the waist of the sweater will be the new hem of your skirt.

If you have a serger you can serge the cut waist of your skirt. But if not then you can zip zag stitch it so you can control the unraveling. I bought a sweater that was a little too big so ended up cutting down the sides and sewing to fit. My suggestion is to find a sweater that will give you the fit you want and leave the original side seams. 

Next grab your 2" wide elastic, cut length to fit and sew short ends right side together. Here it is already attached to the skirt but it gives you a visual.


Now zig zag or serge it to the waist of your skirt. Just lay the elastic wrong side to the right side of the skirt. I put the elastic seam in the back. Remember when stitching it to the skirt stretch the elastic and sweater otherwise when you go to put it on it will rip your stitches.


And there you have it. A new fall skirt. I used this "Pin" to guide my steps. Check it out. Kelsey H, if you have questions give me a call. :)

Thanks for checking in on me. 
Linda


Wednesday, July 30, 2014

Hawaiian Shirt Refashion


This is my newest refashion! But it has a story that started 20 plus years ago. My hubby and I, my youngest sister and her hubby and my BFF and her hubby. We were planning to go to a Jimmy Buffet concert and thought we needed matching shirts. Fast forward a few years and we went to another concert, then another. When we heard he was performing in Chicago we said we were in! 


It always makes me laugh when I take selfies. Anyway, I could not show up to this concert in a shirt that looked like this. So something had to be done.


Cut off the sleeves.


Cut off the collar forming the neckline you want. Hem your new neckline. Next take in the sides. And finally give it the hem length and shape you want. I wanted mine to look more feminine so I took it up on the sides and swooped it down in the front and back.


I love it!! I'm withholding the other pictures of our family and friends in their big sloppy shirts to protect the innocent. But man oh man did we have fun! I hope you can do something just as fun this summer.

Fins to the left!
Linda


Wednesday, September 18, 2013

T-shirt Refashion 2013


You may remember last summers  VBS T-shirt refashion. Check it out 
here . I wanted to do another refashion but did not want to repeat but as I
am the VBS Director I had just a few things on my plate and did not want
to task my brain any more than necessary. So I decided to repeat a refashion
from last September. Check it out here to get the tutorial. But here are the
quick steps.
 
 
Start with an oversized t-shirt.
 
 
You'll also need a sewing machine, scissors, thread, straight pins, marking pencil, elastic, satin ribbon and another t-shirt in a contrasting color. I kind of goofed on this one as I got a 3XL. This caused more work than expected as it was WAY too big and made the emblem lower than I wanted so I had to cut the shoulders and re-seam them.
 
 
Cut the sleeves off and set aside.

 
Next cut your neckline. It's easy to get it even if you cut half, fold it
 over to use as a guide and cut the other side.
 
 
Decide how much to cut off of the sides if any. Sew your new side seams.
 
 
Now decide if you want an empire waistband or at the waist. Sew your casing on. I used the satin ribbon. It made it quick and easy. Thread your elastic into your new casing, adjust to fit and sew ends of elastic to secure.
 
 
Now it's time to grab those sleeves you set aside. Cut off the seam so it is not bulky when you reattach it to the garment at the sleeve. Trim down the circumference of the sleeve to fit. I wanted elastic around the sleeves so next I cut elastic and stretched it as I sewed it on. You'll have to cut the t-shirt where you want the shoulder seam to sit. And you'll want to trim the length of the sleeve to your liking before reattaching it to the dress. Reattach.
 
Now I really have to apologize as I do not have any more photos of the next steps.
 But look back here to get pictures and more detail.
 
I bought a childs'  t-shirt to make a ruffle for around the neckline. Cut 1" strips twice the length around the neckline. Sew strips together to make one long stip. Baste down center of strip and gather. Fit to desired look, pin to neckline and sew right over the basting.


I wanted this to be a dress, so taking the childs t-shirt I cut the length needed and sewed it to the bottom of the t-shirt. I think it turned out super cute and got tons of complements. If you have questions please leave me a comment and I'll try my best to get you an answer.  Linda


Sunday, September 23, 2012

Team Apparel T-Shirt Refashion

I love a challenge. I was to travel with my husband on business. One night was a tailgating theme. We were to wear our favorite Team Apparel. I had t-shirts and could wear it with jeans but how boring is that? I wanted something cute. So I sent a text to a couple of my K-State friends and sent out a plea for t-shirts to refashion. Thanks to Tim & Dianna for their donation! This is what I started with. It's a 2XL. The bigger the better in the refashioning world. You never know what you could do with all the extra fabric!


First cut the sleeves off. Set the sleeves aside for later.


I looked in my closest to get ideas of how I might want the final product to look like. I liked the neckline in the pink top. The navy and red paisley had the elastic waste and length I wanted. As you can see the clock on the oven says 7:27pm. I leave for the airport the following morning at 10 am. :)


Now cut the neckline to your liking. I cut half, fold it over to cut the other half so the neckline is even.


I decided where I wanted the elastic waste to go. In this case it will be more of an empire waste. I also decided how full around I wanted it to be. Pin and try on, pin and try on. Don't go crazy and jump in and cut too much off. I have done this and ended up throwing away two Royals T-shirts this summer. I rushed to have a new refashion for the game and ended up wearing a pink top instead of my powder blue on Royals game day. Anyway. Be cautious and certain before cutting off fabric for side seam. All my seams are 1/2". It just makes it easier when doing the math for where to sew. Cut excess fabric off and sew down side seams. You'll notice I left the original hem on the T-shirt as it was a length I liked.


I'm frugal and strapped for time. Using this satin ribbon for a casing is soft & flexible and fits the bill! Pin in place and sew to garment. As I said mine is more empire waste. Be sure to leave an opening to insert the elastic. Measure elastic to fit comfortably and thread into the casing. Sew ends of elastic together. I used 1/4" wide elastic.


Grab those sleeves you set aside. Cut off the seam so it is not bulky when you reattach it to the garment at the sleeve. Trim down the circumference of the sleeve to fit. I wanted elastic around the sleeves so next I cut elastic and stretched it as I sewed it on. This automatically draws it together like you've gathered and then sewed but my way is easier and saves time. Sew sleeve with right sides together, pin sleeve into arm hole and sew it on. You may want to remove more fabric so the seam sits at the edge of your shoulder. I left the original hem on the sleeves...a big time saver.


I dug out another old t-shirt to make a ruffle for around the neckline. Cut 1" strips twice the length around the neckline. Sew stips together to make one long stip.


Baste down center of strip and gather. Fit to desired look, pin to neckline and sew right over the basting.


And the finished product. We had a great time at our event! And our team won! Now you know how to refashion your favorite T into team apparel you"ll be proud to wear.


Sunday, August 12, 2012

Ruffle Cardigan T-Shirt Refashion

I had a little time this weekend to play a little with the sewing machine. I had these 2 long sleeve t-shirts that were old and boxy fitting. I took the solid one and trimmed it down, cut up the front and added a ruffle using the arm sections from the striped t-shirt. I'm saving the body of the striped t-shirt for another project I hope to work on this week. Have fun in your sewing room this week and I'll check back in soon!

Linda

Summer almost Over?

Wow, it is August already. The summer is coming to an end fast. The heat is still on and fall allergies have started already. But I'm not letting that slow me down. Get out there and enjoy life. I'm excited to think of the fun months ahead. A weekend trip to visit family will produce my next blog. My twin sister and I will be constructing antique door knob coat racks!

I hope to share how our girls train ride to Hermann, MO went. And cooking smores over a fire will be even better when sitting next to the pergola we are planning to construct in our back yard.

I'd like to thank Beth at http://chicenvelopements.wordpress.com/ , Amber at http://rufflesandrosescrafts.blogspot.com/  and Tamara at http://etcetorize.blogspot.com/  for all the inspirational ideas for refashioning clothing. So when the weather turns cold I'll be sewing even more!

Hope you will check in on me. It's going to be a fun fall so come along for the ride! Linda

Saturday, July 21, 2012

Maxi Skirt Refashion

I have been super busy crafting, baking & sewing but I needed to take time out to perform my civic duty. For the 3rd week in a row I am working at our local election office. There are important issues out there so don't forget to get out and vote August 7th! That leads me to this new blog. I have met some wonderful ladies and I promised I would blog about this maxi skirt I wore into the office one day. This is for a budding sewer. It will be easy and fun to wear to school this year. I apologize I did not take photos while making it originally so what you see is the finished product. And like I said I have been busy so it came out of the dryer wrinkled and I have not taken an iron to it. Busy Mom's/Wives Unite!! HA HA anyway, onto the tutorial.

This is what you'll need:
  • I used 3 adult men's polo shirts. They are thicker than a t-shirt most of the time. If you are taller than 5'3" you'll need more shirts, if shorter, then less shirts. I also choose medium because it fit around my hips comfortably. Pick your size accordingly.
  • thread
  • sewing machine
  • scissors or rotary cutter and mat
  • enough elastic to go around your waste
The original polo shirts I started with were similar to this. Lay them flat on a table one at a time. Cut off the lower part of the shirt at the armpit. I like using the rotary cutter and mat for this as the ruler gives me a nice straight line. However this is just as easy if you draw a line with a pen and cut with scissors. Do this to all shirts. You now have 3 fabric tubes. Decide what order you want your shirts to be in. I chose from top to bottom; brown, brown stripe & blue. From my 3 shirts bottoms I then cut them in half. So now I had 6 pieces (tubes). Cut off the hem of all shirts except for the piece that will be the hem of the skirt. With right sides together pin & sew your pieces together, ending with the hemmed piece at the bottom. Press seams open as you go.


Now we'll make the casing for the elastic waste. I used 3/4" wide elastic with an inch for the casing and 1/2" seam. This is how I did that. Judge what length you want your skirt. My skirts' finished length is 36 1/2" long. I added 1" for the casing and 1/2" for the seam. Then I cut the remaining fabric off. So now I have a skirt that is 37 1/2" in length. Turn the top under to the inside 1/2" and press. Fold down this area 1". Pin in place. Sew the the casing, making sure you leave an area open to insert the elastic. Measure and cut the elastic to a comfortable length. Insert it into the casing. Before loosing it all inside the casing leave the ends out so you can sew them together. This automatically gathers your wasteband of the skirt. Sew the opening to the casing closed.

 What I would reccommend you do now is open up a side seam at the bottom of the skirt to allow for easier walking. Just up to the knee should be far enough. Turn edges under and hem for a finished look. My short legs tend to take long strides and I did not do this. Ooops! It is on my to do list.

Enjoy your maxi skirt! If you make one send me a picture. I would love to see it!

Sunday, July 8, 2012

Vacation Bible School T-shirt Refashion


Someone once told me my spiritual gift is organization. And I am pretty organized so this leads to leading. So I find myself, even though I don't have school age children anymore, in charge of our church's Vacation Bible School. In order to ramp up registration I decided to take a regular t-shirt and make it into a dress. This is what I came up with. I think it is super cute and want to tell you how you can make your own. Whether advertising an event or not. Have fun!
This is what you"ll need:
  • t-shirt with your favorite logo your size
  • t-shirt of the same or contrasting color as I choose in a size big enough to be the skirt
  • t-shirt for ruffles & belt
  • elastic for wasteline
  • scizzors or rotary cutter & mat
  • thread, I used the teal color just for fun
  • pins
  • tape measure
  • sewing machine

Find a sleeveless shirt you like how it fits. This will be your guide on how you cut out your logo t-shirt. Lay your logo t-shirt flat with the sleeveless shirt on top of it. Cut your shirt out leaving enough for seam allowance. Leave the original shoulder seams intact. Remember a ribbed t-shirt can really stretch so if you are using it as your guideline leave an inch or much more as an allowance. Don't make the mistake I did. In a hurry before a Royals game I thought I would whip up a new shirt to wear from one of my T-shirt Tuesday Royals shirts. I cut one way too small then tried again and cut the second too small. So be careful. You can trim the size down if it's too big in the end but you can't add to it if it's too small. Be sure to make your cuts around the neck & sleeves neat as this is your finished edge. No seam allowance is necessary.


Now find a skirt you want to use as your guide for the lower half of the dress. This is one of my favorites. And as it has a ruffle on the bottom I used it as my judge on length since we will be adding a ruffle to our new dress. Lay out your t-shirt you want to cut and lay the skirt on top of it. I stretched out the elastic wasteband to see how wide to cut the top of the skirt as we will be gathering and using elastic for the wasteline. I marked the fabric with an ink pen as we will be cutting into the marked area.


Seperately, pin and sew up the sides of the top portion and the bottom portion.


I believe my elastic I used was 3/4" wide. I might use 1/2" or 1/4" elastic the next time. The 3/4" just seemed a little bulky. Make sure it fits around your waste comfortably. Choose a starting point on the skirt portion of the dress. Take the elastic about 1" down from the wasteband on the wrong side. Do not pin it on. I sewed a few stitches and then pulled the elastic tight and continued to sew. When you've gone almost all the way around overlap the ends and continue to sew over it. Once you let the elastic go it will act as if you gathered the skirt.


Take your top portion and decide where you want your wasteband to be. I put the top on and pulled the skirt portion up and pinned where I wanted the top to match the bottom. I gave myself about 1" allowance and then cut below the wasteline, saving the portion I cut off for later use.


With right sides together, pin top to bottom at wasteband. Stitch. Because I was trying to hide a bit of the emblem from the t-shirt I used for the skirt portion, I stitched as close to the elastic as I could.To help me match the gathered bottom to the ungathered top I put one side of the skirt/top on the arm of the chair to stretch it out so I could evenly spread the fabric around. Trim any excess fabric. Now you have the base of your dress done.


Take a measurement around the neckline of your
dress. Now double this number. From the additional t-shirt, I choose one the same color as my light blue shirt, cut a 3/4" strip. Gather this
piece to fit around the necklineof the dress. Place
 it just on the edge of the neckline and stitch down the middle.


Time to make the bottom ruffle. Cut  3" wide strips from the additional t-shirt. You'll have to sew them right sides together to make a long enough piece double the area around the bottom of the skirt. Gather the ruffle 1/4" from on of the edges. Match it to the bottom of the dress. Sew it to the bottom of the skirt.


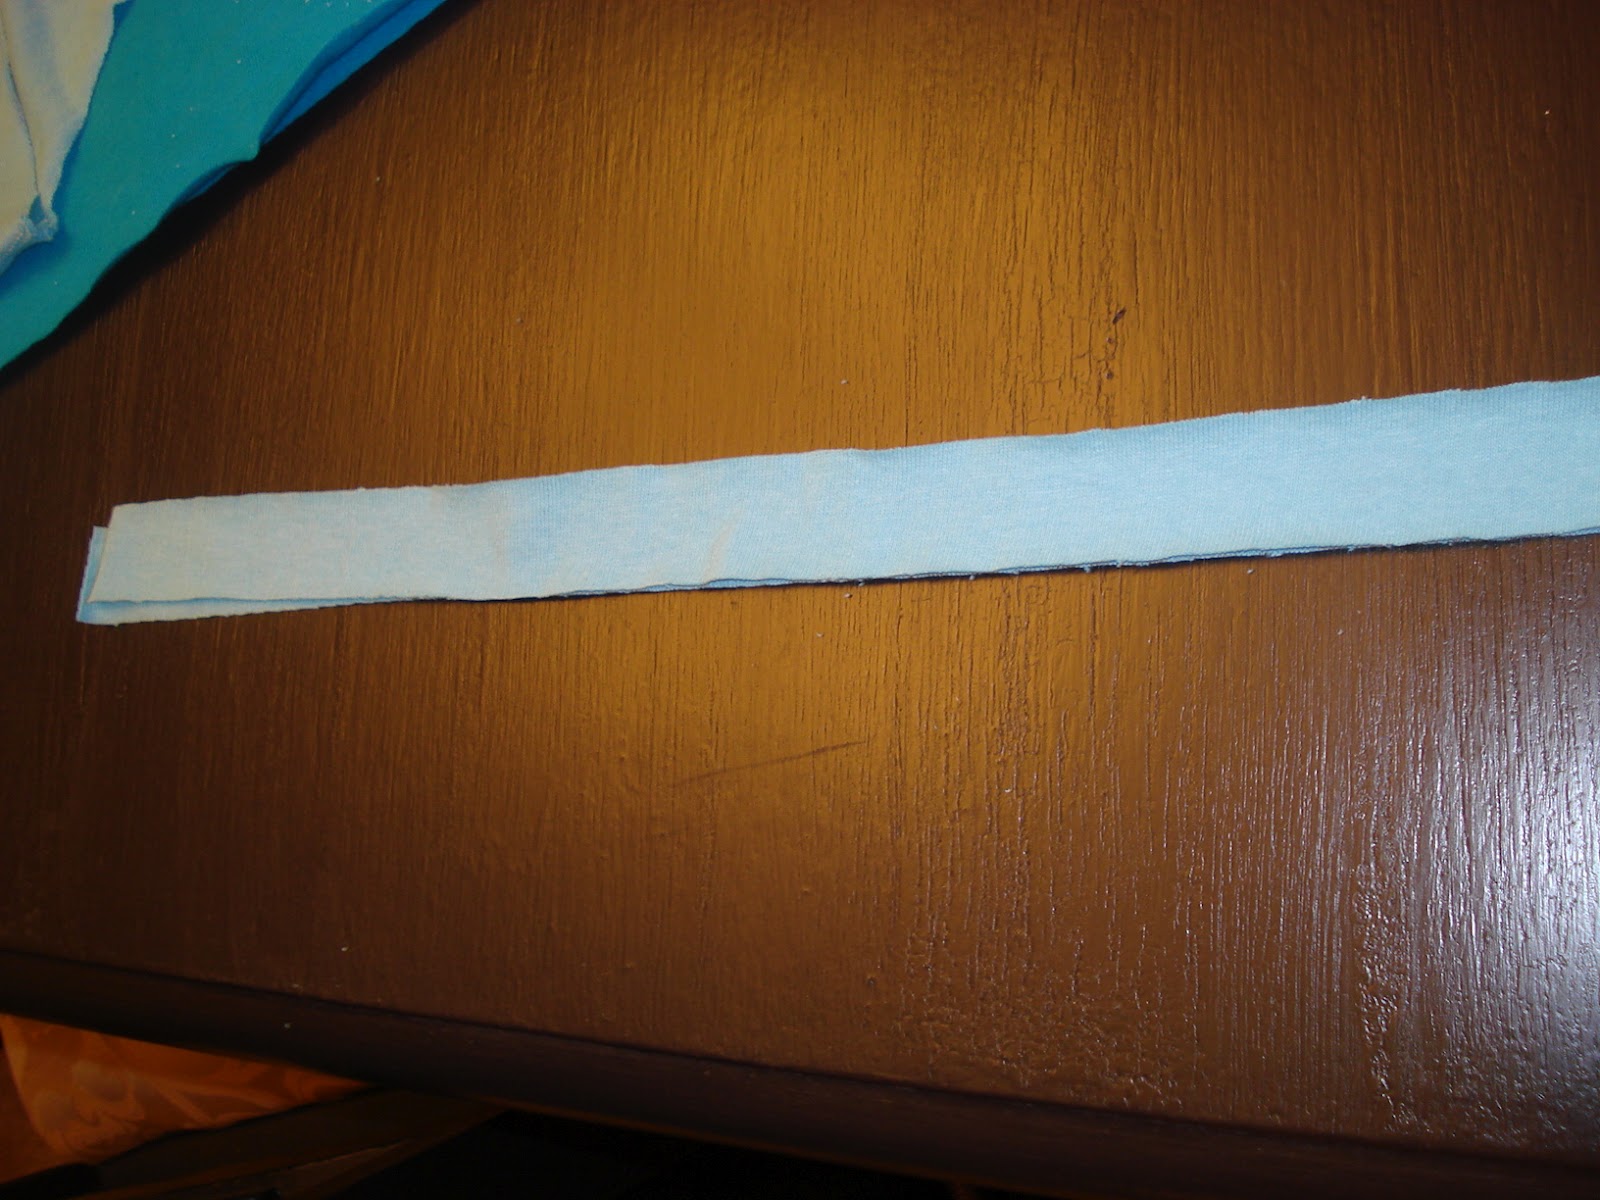
To make a belt I cut 2" or 3" wide strips longer than a tied on belt would normally be. Sew the 3 ends together so it was easier to braid.


Braid the pieces. Sew across each end to secure. I wanted to make this a super easy dress to make so I went casual and just left the ends like this. You could purchase belt ends or use some from an old belt to apply to the ends to make it a little more finished.


And that's it. I have washed my dress once already and the unfinished arm holes and edges of the ruffles look good. It actually improved the look of the ruffles. I hope to make another dress similar to this but change it up a bit. Check back in to see how I've done. If you make this dress, send me a picture. I would love to see how yours came out! Linda
Related Posts Plugin for WordPress, Blogger...