Showing posts with label Remodeling. Show all posts

Friday, January 31, 2014

Floors so easy, you can install them too.

With two rooms under our belt it was time to give my husbands office an upgrade with new flooring. And why not he is lucky enough to work out of his home he deserves the best. Here is a before picture. I'd already started removing furniture and things off the walls.


I really wanted this carpet out of there. So I got right to work.


Taking a utility knife and cutting the carpet and pad into manageable sizes is the first step. Plus this will help with disposal. Some cities allow curbside pick up for a small fee. My method is to fill up the SUV and have hubby take it to the dump. It too is a small fee. But what man doesn't like to take a trip to the dump. Hmmm, must be a man thing.


Next step, cleaning up all the staples and nails so I have a clean surface.


I couldn't resist. while the room was empty and I was about to pull the base boards I thought this would be a great time to choose a new wall color. I choose the color on the right. "Tornado Watch", it's a Valspar color I got at Lowe's. I didn't want to go too dark. This room faces north so doesn't get alot of light. Paint while nothing is in the room and baseboards are removed. It makes it so much easier.


Bring your flooring in to get it acclimated to the temps in the house. And now you can see where all the stuff from the office went to. Who knew his closet could hold so much? My flooring is Golden Teak. Engineered, handscraped, floating floor. I got it at Lumber Liquidators. The store in my area has people that are very helpful to someone like me that is a DIYer.


I set up my work station right outside the front door. Handy, yet keeps alot of the dust outside. You'll need measuring tape, speed square, jigsaw, clamps, marking pencil and a miter saw.


So get started. There are some really good video's on the Lumber Liquidator site to show how to lay a floating floor and You Tube is filled with them. Another go to is the DIY channel. Measure, cut, make sure seams don't land closer than 12 inches from each other. Always buy plenty as you'll have more waste than you think. I used a Dremel tool to cut the bottom of the door jams. To get the right height place a piece of your flooring down and saw above it for a perfect fit for the new flooring to slide under it.


I took the flooring into the hall and that means including another closet. Don't be afraid to work in small spaces.


You'll be pleased with the results.


Next it was time to get to work on the trim. You already know I'm frugal. I removed the existing trim, sanded it down and chose a matching stain. Adding three coats of polyurethane. I purchased quarter round, stain and polyurethane went on that too. Cut to fit and install. I used a finish nailer. Be sure to miter your corners for a professional look.

And now what you've been waiting for the finished product. I had to wait to for this step as I hired electricians to come install can lighting in the room. It gave excellent light and really updated the look of the room. The old single "boob" light in the center of the room just wasn't cutting it. 


I love how the room turned out. I found this rug at Lowe's. It really brought all the elements in the room together.
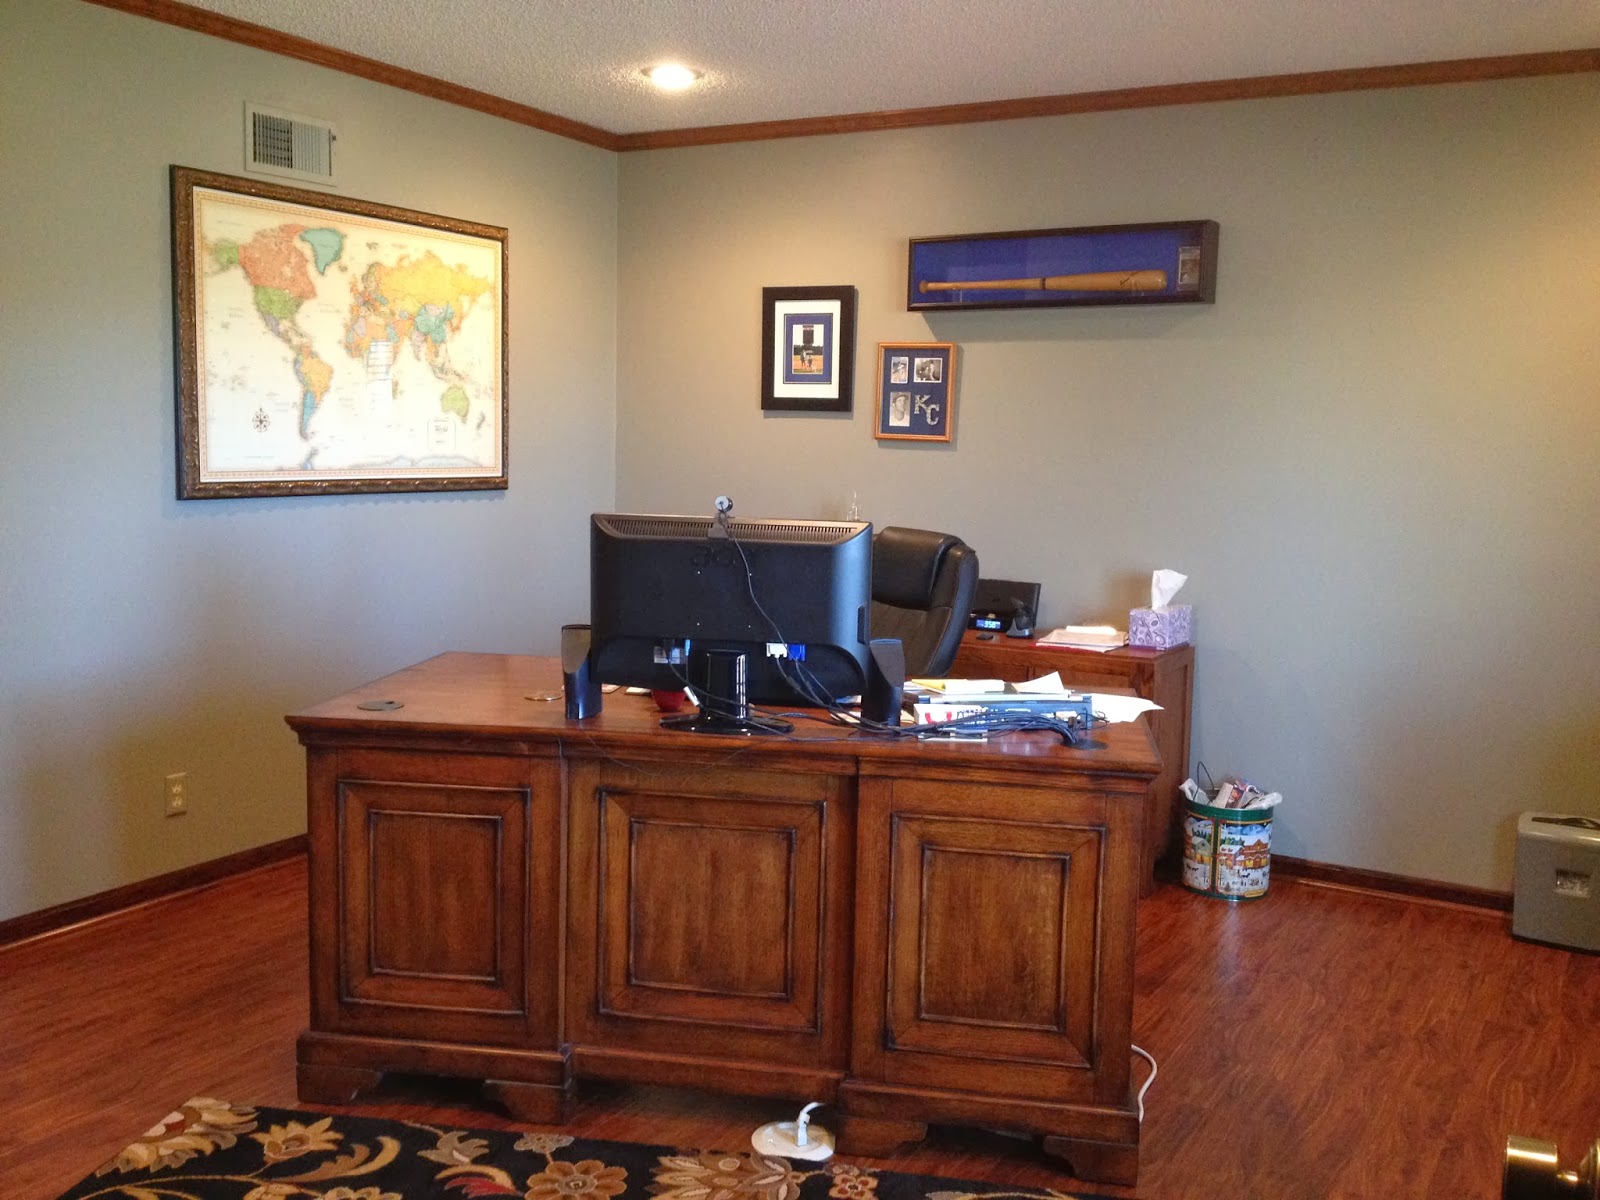


One can light in the center of the room and one in each corner was enough for just the perfect lighting. We had it hooked up to existing switch and they put a dimmer on it as well. Bonus! Remember when adding cans, take the height of your ceiling and that is the diameter one can will illuminate onto the floor. Ours were 8ft ceilings, each can lighted up 8ft on the floor. This room is only 13X16 so more lights would have been too much.


Rearranging hubby's memoribilia on the walls, adding this thrift store chair find and repainting an end table someone left out for the trash...New Office finished.
He is super happy with the result and so am I. Thanks for checking in on me. Leave me a note to let me know what you think. I do truly love hearing from you.
Linda

Thursday, September 12, 2013

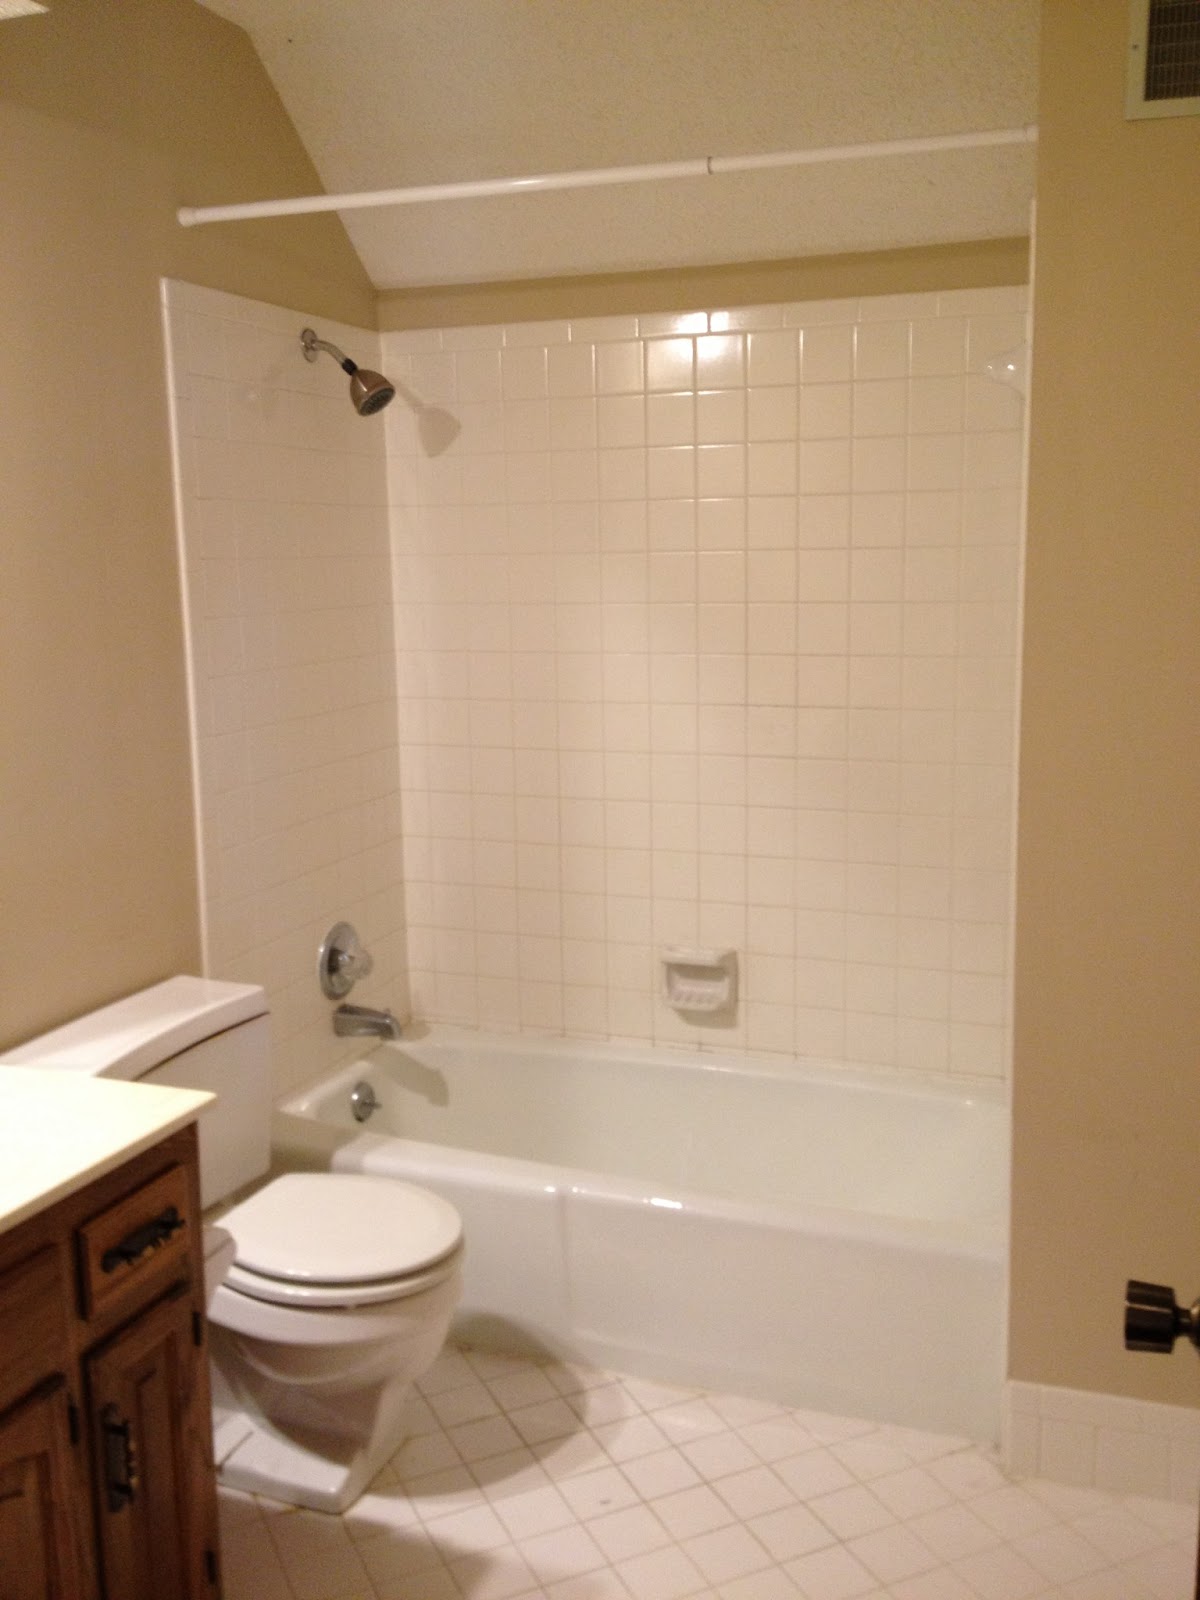
Tiling for a friend


There's nothing I like better than viewing a finished
project. I tiled this bathroom for a friend.
Unfortunately this spring they found themselves
ankle deep in water after a downpour. Ok maybe
not ankle deep but bad enough all the flooring on the lower
level had to be removed. So they took up the carpet,
removed tac strips and then I went to work.

 
I choose not to use the cement board
underlayment this time. Instead I used a Schluter-Kerdi brand
product. I highly recommend it for a flooring
moisture barrier. (The orange waffle stuff)  And wow was it easy to lay.
Just measure the area. Cut the orange waffle stuff with a utility knife,
mix your mortar  a little thinner than normal for tile laying
(read instructions to get the correct type), cover the
floor and lay the orange stuff in place. You can walk on it right away
and begin laying the tile. I used another Schluter-Kerdi
product on our shower walls. Bathroom Remodel Day 4
 The wall stuff was harder to use as it was flimsy and face it
working on a vertical surface gives a new meaning to "ugh".
 
 
And here you see the tile in place with 1/4 inch spacers.

 
Once mortar is set, grouting was done.

 
To save money I like to reuse baseboard. I sanded it down,
bought quarter round and painted both to match.
 
 
I blogged about my 1/2 bath tile install. You can find clearer how to's here:


I am very happy with the end result and my friends are too. I can't wait till their daughter gets home from school to see how it turned out.
Next I'll show you the project we completed in the bedroom for them. I think you'll want to try it in a room of your own. Check back soon to see what it is!!
 
Linda
 

Friday, August 30, 2013

Red Door of Welcome!

 
This door was plain and boring. Something had to be done, so when I walked past the unacceptable colors of paint customers did not want and saw the perfect color for $2.00 I had to get it. The original paint is in good condition so I did not do any sanding on the door. Red needs many coats to come out a uniform color. I started by taping all the windows and on coat 3 or 4 I decided I was just using too much tape when I could use a blade to trim off the excess from the glass.

 
I used a 1 1/2 inch brush to paint the trim and a very small foam roller to do the flat surfaces. Typically I might add Floetrol to help reduce brush marks but didn't on this project. It looks great!! Someone told me having a red door is a welcoming gesture. I couldn't agree more.

Wednesday, August 28, 2013

Tiling the 1/2 Bath and More


This project was tiling on a budget! I happened to visit the Habitat for Humanity ReStore and they had their open box tiles 10 cents a tile. WOW!!! How could I resist. I chose several tiles I felt would look good in a mosaic pattern. Some where bigger than the 12 X 12 I was shooting for but easy enough to cut down to fit. This is the side entry to the house. You might remember the bench from 
One Little Corner . I finally got to finish off the bench with
quarter round now that the new flooring is in.
 
 
And the view into the 1/2 Bath. I had refinished the vanity and saved the quarter round and finally got to reinstall that as well. I am so happy with the end result and so glad this corner of the house is done!
 
 
This is how you can tile a room of your own. First remove baseboards and old vinyl.

 
I also removed the transition to the side door as I want the new transition to set on top of the new tile.

 
I played with the tiles to see how I wanted them to be laid.

 
Cut and install cement board with the appropriate screws.

 
Sweep up any dust and dirt, mix your mortar per the directions on the bag. I could have used the premixed mortar but really like using the other. Don't paint yourself into a corner so to speak. My layout was odd and I wanted to make sure I had two full tiles to the entry into the kitchen as well as the side entry, so I marked center on the floor and worked out from there. Blob some mortar on the floor use a notched trowel to spread it making sure you cover it well and evenly. Lay your tile giving it a little wiggle, lay the next one close to the first, wiggle it pressing into place and using a level each time a new tile is laid. Use spacers of your choice, mine are 1/4 inch. I have a wet saw which makes it easy to cut the tile. I know the stores sell tools that you can score and snap tiles but really the way to do it is with a wet saw. You can also rent them. And would be well worth it. Measure and cut tiles as needed. Let them dry 24 hours before laying the grout. Most of the grout bags have instructions on them. Mix according to instructions and use a float to spread the grout into the seams. Spreading at a 45 degree angle to the grout lines. Only spread as much as you can keep up with the cleaning it off the tile before it dries. Continue until all grout lines are filled. Over the next few days continue to wipe up any haze left behind. Once completely dry apply a grout sealer. Two coats should do it. Maybe more if you have a child that tends to soak the floor during his evening bath. :)


I saved the old baseboard, sanded it and re-stained. I couldn't remember the stain I had used on previous trim so I tested the board that went behind the toilet. Once I found the winner I stained and polyurethaned all the baseboards. I also bought new quarter round and stained it the same color and installed the quarter round once the baseboards were in. I mitered the corners and used a finish nailer to secure them.

 
I really lucked out because I had leftover transition from the dining room floor that I cut down and used some liquid nails to secure it. This transition will come up if we ever get to the kitchen remodel so I just tacked it in place.
 
 
This is the transition to the outside door. I bought three different transitions but ended up taking the 2 metal ones back to the store. They looked so industrial. I chose an oak transition. I cut to fit. Now that the height of the floor is raised I had to cut and install a 1x2 and place it under the oak transition piece on the screen door side. I screwed them into place, stained and polyurethaned.

 
This is just a beauty. You can't even tell where the 1x2 starts and stops.


And that's it! If you have questions on how to do this, please leave me a
comment and I will go more into depth. Thanks for checking in on me.

Monday, August 26, 2013

Recycled Chandelier

 
As you have noticed, we are slowly remodeling our older home to fit us. Step by step, tile by tile, light fixture by light fixture. I love to go to Flea Markets, Antique Shops and Second Hand Stores. You never know what you will come home with. I introduced my son to the Habitat for Humanity ReStore in our area earlier this summer. I came home with a chandelier for $15 he bought a desk chair for $5. It is hit or miss so check back with your local stores often as merchandise comes in all the time. This chandelier was a shiny brass. I've seen others repaint them so I thought I would give it a try.
 
I set up a spray both in the basement using sheets and plastic. I just tacked them into the joists. There's a shop light hanging in there so the lighting will be excellent.
 
 
I choose to paint it with a spray paint and primer all in one. This is a Lowes brand. I thought it performed just as well as Krylon or other name brands. Black with satin finish.


I purchased a canopy as the light did not come with one. I didn't care what the finish
on it was as I knew I would paint it along with the light.

 
I hung the light fixture from a joist in my new paint booth and started cleaning it up.
I took off the candle covers and cleaned them separately.


Then I cut up an old plastic bag and taped it around the mechanical  and light sockets. Give the fixture several light coats of paint allowing each coat to dry completely before adding the next coat. Paint the chain and cord as well.


It was really rainy early this summer so it took a little extra time to
completely dry with all the humidity.
 
 
Replace the candle covers. I had my hubby hook up the electrical. Some new bulbs and that's all there is to it. It not only adds more needed light but is a great piece to look at. I've been busy working on projects this summer. Check back to see what's next.
 

Wednesday, May 15, 2013

Finished Bathroom

Wow, I can't believe it. We started this project March 4th. And now on May 15th I'm taking the final pictures. But again I am getting ahead of myself.
I bought new baseboard because as you remember previously the tile went up the side of the wall. I thought this made it look too industrial so wanted to warm the room up with wood tones. I experiment with trim colors to come as close to what the rest of the trim is that I can. In this case I used a red elm gel stain by Minwax. Once dried I decided it wasn't quite right so I added a coat of American oak stain. This was not the gel kind. I felt the color then was close so applied 3 coats of polyurethane.
 
Once completely dry I measured with the help of my friend Susan. She wrote down the measurements. She came over to observe and chat as she is recovering from rotater cuff surgery. Ouch!! Get well soon to Susan!
 
I had handyman Earl come back to caulk around the sink and tub. I am not a caulker. This is a skill I leave for others. I choose to use clear caulk as I did not want to cover that beautiful granite with a color that would not match. Earl highly recommends using a silicone. This will not shrink or get dry and brittle like the "siliconized" caulk does.
 
I also want to give a big THANK YOU to our friend Ken. Electrical is sometimes best left to the experts. We were having trouble getting the new lights hooked to the switches so Ken volunteered to come and help. YAY!! He's an electrical engineer. Who better to have. Within and hour he was done and I could move on with the project.
 
Back to baseboards. Earl told me how he would do it and then I did it how I wanted to. :) I mitered the corners. I'm happy and it's my bathroom so....Anyway, I love using power tools. Nothing like a finish nailer to get the job done quick and easy. Fill those little nail holes with wood filler and let dry. Touch up with a dab of stain and baseboards complete. I did purchase quarter round for along the vanity. I painted it the vanity color and nailed in place again miter cutting the corner.
 
Hubby installed the tub/shower faucets and I think that's it. What a journey. So happy with it and my son is happy he has his bathroom back. So below is the before picture.
 
 
And here is the after!
I think I am happiest with the floor. Definitely my best work.
 
The baseboards look awesome.

Rid of the huge builders grade mirror and poor lighting!


I love the vanity color.

 
And what man doesn't like a dual flush toilet?

 
Yes that is dirty laundry in the basket already. :)

 
All I need is a couple of pieces of art for the walls and I am set. It has been a trying journey. Not everything went smooth but it was all worth it. This is our forever home. We intend to enjoy every minute we are in it. God has blessed us in so many ways and he has blessed me with you. Thanks for coming along with me on this adventure. I should have more time to do other projects now so check back soon!
Linda


Related Posts Plugin for WordPress, Blogger...