Showing posts with label Crafts. Show all posts

Sunday, October 18, 2015

ElliesAlley

I've started a new adventure. My Grandma Morris taught me and my sister to sew when we were 8. We made matching tops and scarves for our 4-H project. Got a blue ribbon by the way. Growing up my Grandma Mellinger would wear an apron everyday over her dress. Both Grandmothers loved to garden, freezing or canning what they grew. And, I consider both of them to be very crafty and creative. Which leads me to my new adventure. I've taken my love of sewing and memories of days gone by and created ElliesAlley. 


In my shop https://www.etsy.com/shop/ElliesAlley  you'll find Aprons and Home Decor. I also have a Facebook page www.facebook.com/ElliesAlley .
Please swing by both sites for the latest apron I've sewn or a new recipe and much more. You may not see new posts on the Lindaloo blog but don't worry. Follow me on Facebook, like my page and feel free to comment. The more you do the more you will see my posts in your feed. Or you can always search for ElliesAlley on Facebook. I'm hoping to reach new and old friends so feel free to share my Facebook posts!


Thanks for checking in on me. 

Linda

Etsy.com/shop/ElliesAlley
www.facebook.com/ElliesAlley


Monday, September 21, 2015

ElliesAlley


This is Ellie. I've chosen her to represent my new endeavor. I've had friends tell me for a long time that I should sell the items I make. And now I am. You can find my creations on Etsy. 

www.Etsy.com/shop/ElliesAlley

Come take a peek at the Retro, full, reversible aprons I've made. Soon I'll have cupcake shaped pot holders to match the aprons for sale also.


You might also like some of the Home Decor I selling as well.


These can be customized with a verse of your choice. Made from Reclaimed wood.

Thanks for dropping by.     Linda


Monday, August 3, 2015

Paneling Art

 
I love crafts and DIY projects that cost little to nothing. This won't surprise you but several years ago when my husband had gone out of town on a business trip, I wanted to see what was behind the paneling in the family. Man, did I hate that dark paneling. It had to go. I quickly found out there wasn't anything behind this 3/4 inch think tongue in groove paneling. I am sure back in the day this stuff was the cat's meow. But in my lifetime, uh no. My hubby now says he's afraid to leave town as he doesn't know what I will do next. HA! We sold half of the paneling that some guy quickly purchased from Craigslist. Now I am wishing I had kept ALL of it. It really comes in handy. As you know I used it for the serving tray. And here it is again. Those that have pallets may use pallets. I choose my old paneling. I selected my pieces and used my big girl tools to cut them. I went with 16X16 end square size.


I then cut some thin plywood (yes, from my stash) to mount the paneling on.


Now use some construction adhesive and glue them on. I taped them together to make sure the tongue in groove was settled together. 


After making sure this had dried well I took them outside to sand off all that dark stain.


Now I had to decide what would be my design. And then which one would I choose. I printed these off of images I found on the internet. 


I went with "A" and made a stencil. I happened to have stencil material in my stash. Have you figured it out yet? I have alot of stash. :) Trace it on. Cut it out. Easy peasy!


Now get out the craft paint of your choice and stencil away! I had a spouncer that is basically a round foam piece on the end of a handle that I use to stencil. Less is more remember when applying paint. You don't want it to bleed under your stencil. AND be sure to tape your stencil in place so it doesn't move.

I couldn't just leave it like this. I wanted to add a Bible verse. This would make the perfect gift for my nephew, Nathan. His confirmation was coming and I would trace his verse on this for his gift. Print it out how you think it will fit on the wood and where you want it. 


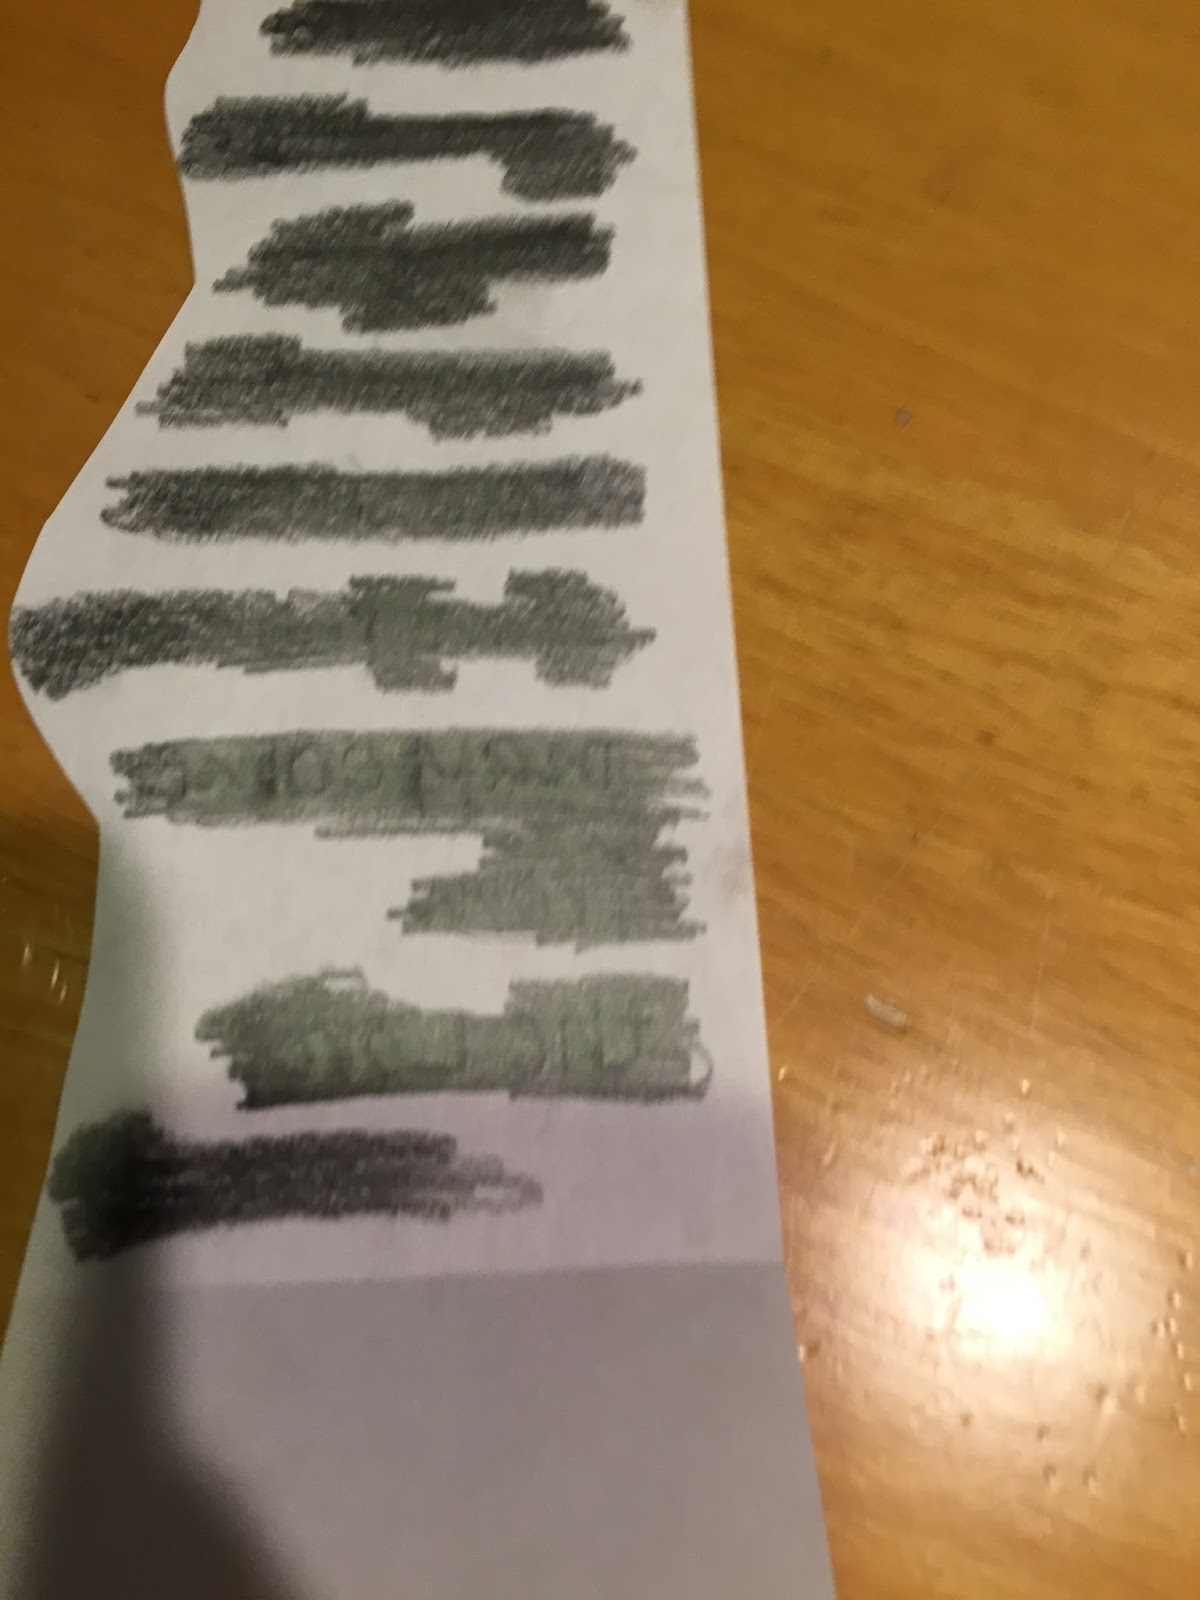
Now, turn your paper over and take a pencil and draw over the words. Make sure you get it good and think.


Tape it in position on the paneling and trace over the words using pressure.


Take a peek. You should be able to see the lettering enough that now you can take a sharpie and trace the tracing. 


I put two small screws on the back and wrapped picture hanging wire around them as a way to hang it. 


Even though the invitations said no gifts....who can go to a celebration like this and not commemorate it. 

God bless you Nathan!

Love, Aunt Linda


Thursday, July 16, 2015

Serving Tray


My sister is coming to visit and when we get together we like to get our "craft on". Yeah, I don't usually use terms like that but yeah! We love to craft. 

Mission: Finish a project in a long weekend. Leave time to shop the West Bottoms, antiques, treasure hunting galore! Take in a Royal's game. Yep, they are my team. Always have been, always will be. Watch some fireworks! And enjoy the rest of the family.

What we did...make your tray and bring it with you. This is how I made mine.

Materials/tools:
I felt my paneling needed a backer so I also used plywood.
Trim if you choose.
Finishing nailer
Construction Adhesive
I used a table saw and miter saw.
Handles of your choice.
Screws for the handles
Paint for the tray.
Paint for the handles.
Drill to predrill handle holes.
Screwdriver

Go to the basement and pull out those scraps! This is my stash.


Decide how big you want your tray. I plan to make a coffee table/ottoman out of pallets and want this tray to sit on it, so I went large. 18X24. I chose some of the tongue in groove paneling I removed from the family room walls a few years back. Cut to size. I also cut a thin piece of plywood the same size.


And here is the paneling I cut to size. I love my big girl tools!


This is how I  decided it should look.


I didn't have any trim I liked to go with this so I made a trip to Lowes. Cut my trim so the corners were mitered. A more professional look I think.


I sanded down the paneling to get the stain off so the paint would adhere better. Believe it or not this was alot darker. (That's why I wanted it off the family room walls)

Time to put it together. I used construction adhesive to bond the plywood to the tongue in groove paneling.


Then I used a finishing nailer with a little more adhesive combo to adhere the trim.


It truly is all about the tools. Makes life so much easier. Now let it sit to dry. I didn't want my thin plywood to warp so I set a cinder block on it. Meanwhile, I hit my local Habitat ReStore to look for handles. I chose the bigger one for my huge tray. After sending a picture to my sister, she wanted the smaller one. These were $1 each. You may find them cheaper or even have some old ones sitting around your house you could use.


I went to my paint stash and brought this up.


Next I soaked the handles in vinegar. Cleaned them up, took a wire brush to the big set as the finish seemed to be peeling, we don't want any of that business. 


I laid the handles bottom side up protecting my table with wax paper. Give them a couple of light coats.


You noticed the shoe box in the background. Grab some toothpicks. Poke them in the shoe box. This holds the handles in place while you paint them so they don't tip over. Give the top side a couple of light coats.


After thinking about what color I wanted my tray to be I decided to splurge and buy a sample of paint. Lowe's has samples of Valspar for $2.98. Pretty good deal. My color is Valspar Sea Seeker. A couple of coats and add the handles.


I felt the color I chose went well with my big ugly chair I made a slip cover for with matching throw pillows.

OKAY!!! Now what my sister Brenda did. (Abbreviated) 

She has a supply of pallets. Her hubby helped her cut some up. Chose a size she liked. Cut 3 pieces of equal length. And cut 2 pieces to sit perpendicular at each end. She used a finishing nailer and tacked them all together. Her paint sample is also Valspar. The color she chose was Heirloom Red. I love it. And she'll have leftover to make a valentine project!


Another aspect she chose to do was to dry brush it. Awesome!!! It looks like she just took it off a barn. A couple of coats of Minwax Polyurethane to protect it. Add the handles and this is what it looks like. I think it is super cute!!!


What fun sister time we have. Love you Brenda!


Saturday, February 14, 2015

Love is in the air!


I've been working on all kinds of projects. From upholstery to freezer meals to quilting. But I panicked when I realized I had taken down the Christmas wreath from the front door and had nothing to put up for Valentine's Day. I went to the basement checked out all my wood scraps and a project was born. Now, I will admit, I don't have alot of original ideas. Pinterest is so amazing, so I usually see something I like and tweek it to be my own. 

This heart being sold on Etsy is what caught my eye and I thought I can make that! And this is how you can too! Or let me know and I'll make one for you because I just checked and this item is no longer being sold on Etsy. I still have wood scraps in the basement so your cost is bound to be good.


What you'll need:
a piece of wood to accommodate your heart size
wire (I used No.19 soft galvanized)
burlap
red paint
polyurethane

Tools needed:
jigsaw
drill
wire cutter
sandpaper
pliers
scissors
scrap paper

Ok, I have to apologize, I did not take many pictures of putting this together. I know, I am a bad blogger. So you are going to have to pull out the creative portion of your mind and put it to work. You can do it! I have faith in you!

First using your scrap paper cut the size and shape of heart you like. As I stated in my Fall Burlap Wreath my house sits a ways back from the street so I want to make a statement with what goes on my front door. Your heart can be smaller but mine measured about 29" tall by 21" wide. I then taped it to the door to see how it sized up. The Etsy heart is very small, you can see it hangs from a door knob. 


Next I ripped my piece of scrap wood down the center using the table saw. I love using my big girl tools whenever I can. I then took the heart pattern and cut it in half. Lay the pattern on the wood and trace with a pencil. Use your jigsaw to cut the two pieces out. 

Now grab your drill with a big enough drill bit that will allow the wire to pass through. I drilled 3 sets of wholes down the center of the heart. This is where you will run your wire to hold the two halves together. Once those are done drill two holes at the top of each heart section. This is where the wire will run to hang the heart. Great! Almost done with the drill. Think about bow placement. Drill two holes about an inch apart where you want the center of the bow to be. 

Sanding- I sanded the edges so I wouldn't get splinters but other than that I did not sand it. My piece of wood was a really nice piece of oak I'd bought for another project and then cut it too short. Ugh, I know. Hence the saying measure twice, cut once. But I knew some day I'd have a use for it.

My red paint was left over from Red Door of Welcome. Red always takes a few coats to get an even tone. Be patient and give it all the coats it needs. You'll thank yourself later. My front door is exposed to the elements so I always try to protect my projects best I can. Here I used polyurethane. Two really good coats. After it drys completely you may choose to sand it a little to make it look distressed. I kept mine as is.


Cut 3 lengths of wire long enough to attach the heart halves. Poke the wire through the holes and double back on it. Bend the wire on the front side and then use a small item like a pencil to wrap the wire around to make pig tails. I used needle nose pliers and wrapped it around them. 


Once the heart halves are connected you can cut a length of wire to hang the heart from. I added an extra length to again make pigtails. I took the paper towels off its holder and used that to make the big pigtails.


Burlap, You can buy it in a spool of ribbon. The wire edged kind makes it a little more durable. I had yards of burlap in the craft closet so I cut strips in 2 1/2" width. I reeaaallllyyyy wish I had a good video on how to make a bow. It is super easy but if you are like me, you are such a visual learner it is hard to imagine. I know there are some on Pinterest but I just did a quick search and some of them practically have you turning handstands to get it done. I promise I will give a tutorial soon on my super easy bow making. But for now if you need help you'll have to turn the handstands to get it done if you don't already know how. :( Because I cut strips of burlap instead of using burlap ribbon it frays a little. I think that adds to the character of the project. 

Cut a piece of wire to attach the bow, draw it through the two drilled bow holes and secure it in place. You can also pigtail the wire ends on the front side if you wish. You're ready to hang your heart. Now if you made your holes too far apart for the wire to hang it from it may make your heart a little 3 dimensional. Which at first I was a little worried about but now I am really loving it.


What a fast and easy project and I love it!!! I hope you do too. I hope your Valentine was good to you this year. Mine fed me Chicago style deep dish pizza. YUM!!! Reminded me of our dating days. 

Thanks for checking in on me. 
Linda


Related Posts Plugin for WordPress, Blogger...