
Someone once told me my spiritual gift is organization. And I am pretty organized so this leads to leading. So I find myself, even though I don't have school age children anymore, in charge of our church's Vacation Bible School. In order to ramp up registration I decided to take a regular t-shirt and make it into a dress. This is what I came up with. I think it is super cute and want to tell you how you can make your own. Whether advertising an event or not. Have fun!
This is what you"ll need:
- t-shirt with your favorite logo your size
- t-shirt of the same or contrasting color as I choose in a size big enough to be the skirt
- t-shirt for ruffles & belt
- elastic for wasteline
- scizzors or rotary cutter & mat
- thread, I used the teal color just for fun
- pins
- tape measure
- sewing machine

Find a sleeveless shirt you like how it fits. This will be your guide on how you cut out your logo t-shirt. Lay your logo t-shirt flat with the sleeveless shirt on top of it. Cut your shirt out leaving enough for seam allowance. Leave the original shoulder seams intact. Remember a ribbed t-shirt can really stretch so if you are using it as your guideline leave an inch or much more as an allowance. Don't make the mistake I did. In a hurry before a Royals game I thought I would whip up a new shirt to wear from one of my T-shirt Tuesday Royals shirts. I cut one way too small then tried again and cut the second too small. So be careful. You can trim the size down if it's too big in the end but you can't add to it if it's too small. Be sure to make your cuts around the neck & sleeves neat as this is your finished edge. No seam allowance is necessary.

Now find a skirt you want to use as your guide for the lower half of the dress. This is one of my favorites. And as it has a ruffle on the bottom I used it as my judge on length since we will be adding a ruffle to our new dress. Lay out your t-shirt you want to cut and lay the skirt on top of it. I stretched out the elastic wasteband to see how wide to cut the top of the skirt as we will be gathering and using elastic for the wasteline. I marked the fabric with an ink pen as we will be cutting into the marked area.
Seperately, pin and sew up the sides of the top portion and the bottom portion.
I believe my elastic I used was 3/4" wide. I might use 1/2" or 1/4" elastic the next time. The 3/4" just seemed a little bulky. Make sure it fits around your waste comfortably. Choose a starting point on the skirt portion of the dress. Take the elastic about 1" down from the wasteband on the wrong side. Do not pin it on. I sewed a few stitches and then pulled the elastic tight and continued to sew. When you've gone almost all the way around overlap the ends and continue to sew over it. Once you let the elastic go it will act as if you gathered the skirt.
Take your top portion and decide where you want your wasteband to be. I put the top on and pulled the skirt portion up and pinned where I wanted the top to match the bottom. I gave myself about 1" allowance and then cut below the wasteline, saving the portion I cut off for later use.
With right sides together, pin top to bottom at wasteband. Stitch. Because I was trying to hide a bit of the emblem from the t-shirt I used for the skirt portion, I stitched as close to the elastic as I could.To help me match the gathered bottom to the ungathered top I put one side of the skirt/top on the arm of the chair to stretch it out so I could evenly spread the fabric around. Trim any excess fabric. Now you have the base of your dress done.

Take a measurement around the neckline of your
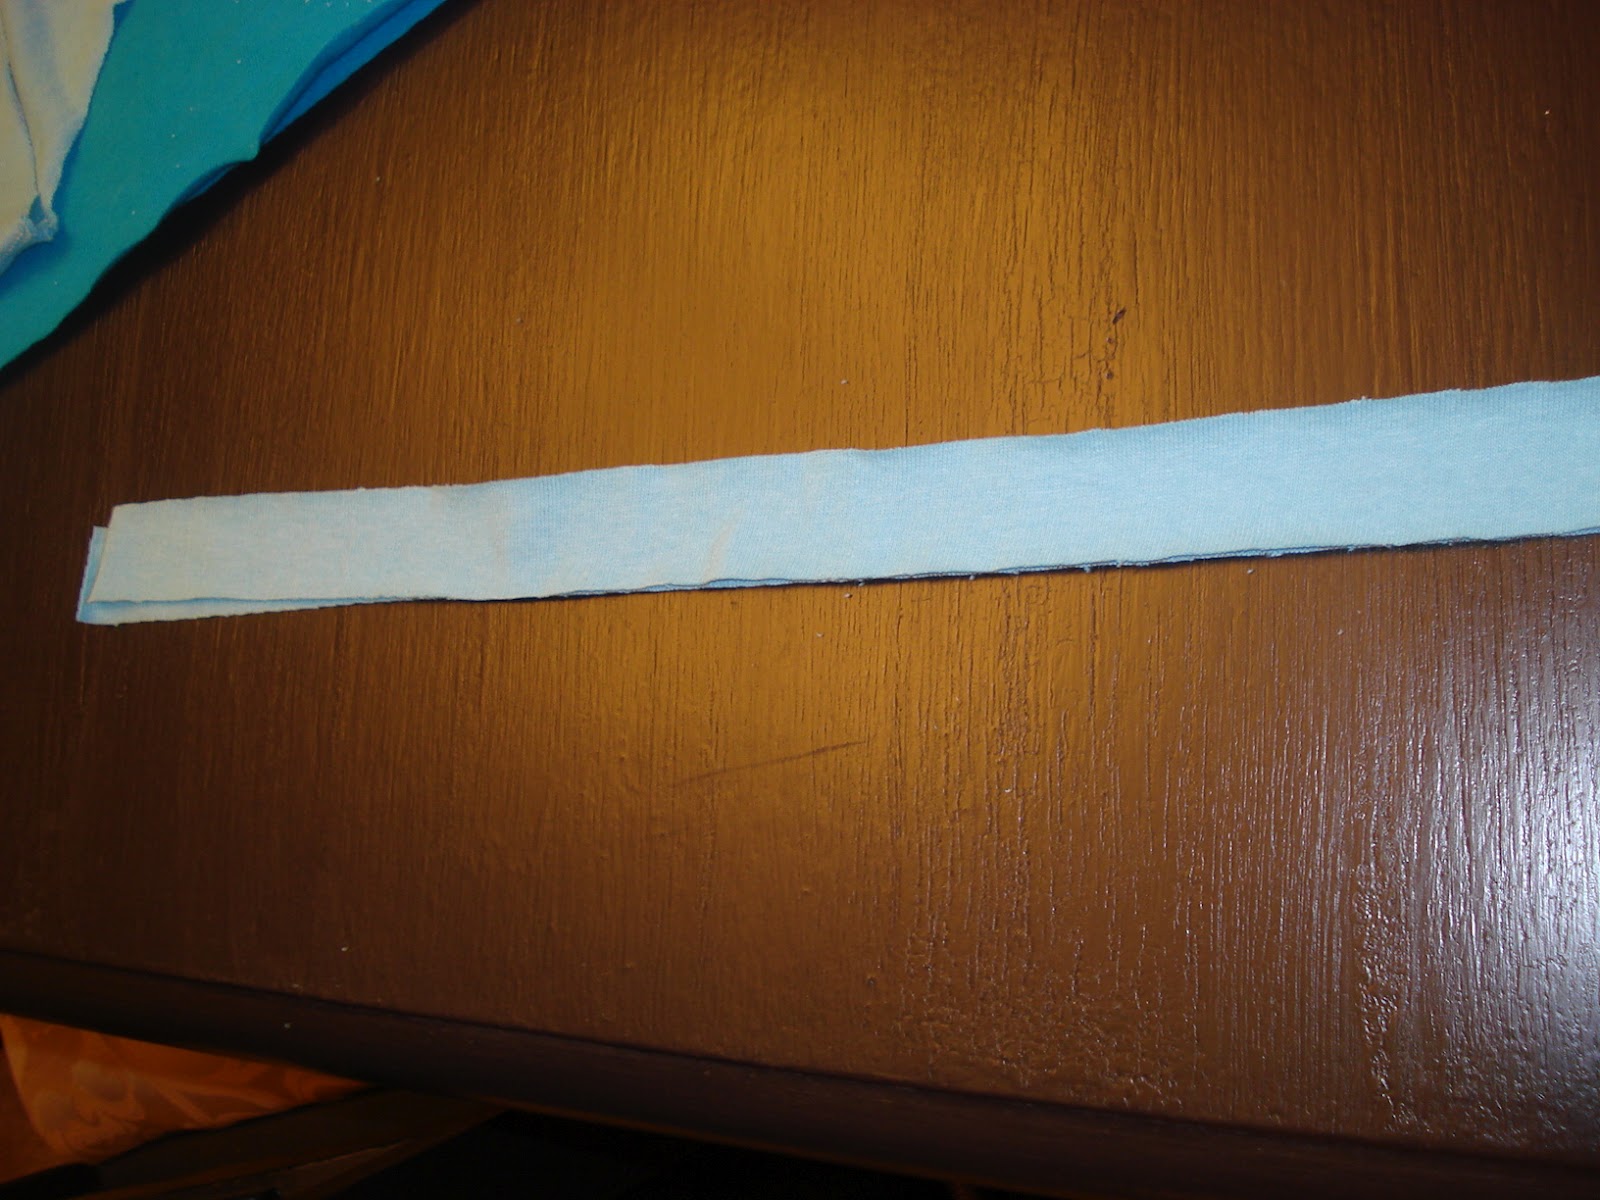
dress. Now double this number. From the additional t-shirt, I choose one the same color as my light blue shirt, cut a 3/4" strip. Gather this
piece to fit around the necklineof the dress. Place
it just on the edge of the neckline and stitch down the middle.
Time to make the bottom ruffle. Cut 3" wide strips from the additional t-shirt. You'll have to sew them right sides together to make a long enough piece double the area around the bottom of the skirt. Gather the ruffle 1/4" from on of the edges. Match it to the bottom of the dress. Sew it to the bottom of the skirt.
To make a belt I cut 2" or 3" wide strips longer than a tied on belt would normally be. Sew the 3 ends together so it was easier to braid.
Braid the pieces. Sew across each end to secure. I wanted to make this a super easy dress to make so I went casual and just left the ends like this. You could purchase belt ends or use some from an old belt to apply to the ends to make it a little more finished.
And that's it. I have washed my dress once already and the unfinished arm holes and edges of the ruffles look good. It actually improved the look of the ruffles. I hope to make another dress similar to this but change it up a bit. Check back in to see how I've done. If you make this dress, send me a picture. I would love to see how yours came out! Linda


No comments:
Post a Comment