

I bought new baseboard because as you remember previously the tile went up the side of the wall. I thought this made it look too industrial so wanted to warm the room up with wood tones. I experiment with trim colors to come as close to what the rest of the trim is that I can. In this case I used a red elm gel stain by Minwax. Once dried I decided it wasn't quite right so I added a coat of American oak stain. This was not the gel kind. I felt the color then was close so applied 3 coats of polyurethane.

Once completely dry I measured with the help of my friend Susan. She wrote down the measurements. She came over to observe and chat as she is recovering from rotater cuff surgery. Ouch!! Get well soon to Susan!
I had handyman Earl come back to caulk around the sink and tub. I am not a caulker. This is a skill I leave for others. I choose to use clear caulk as I did not want to cover that beautiful granite with a color that would not match. Earl highly recommends using a silicone. This will not shrink or get dry and brittle like the "siliconized" caulk does.
I also want to give a big THANK YOU to our friend Ken. Electrical is sometimes best left to the experts. We were having trouble getting the new lights hooked to the switches so Ken volunteered to come and help. YAY!! He's an electrical engineer. Who better to have. Within and hour he was done and I could move on with the project.
Back to baseboards. Earl told me how he would do it and then I did it how I wanted to. :) I mitered the corners. I'm happy and it's my bathroom so....Anyway, I love using power tools. Nothing like a finish nailer to get the job done quick and easy. Fill those little nail holes with wood filler and let dry. Touch up with a dab of stain and baseboards complete. I did purchase quarter round for along the vanity. I painted it the vanity color and nailed in place again miter cutting the corner.
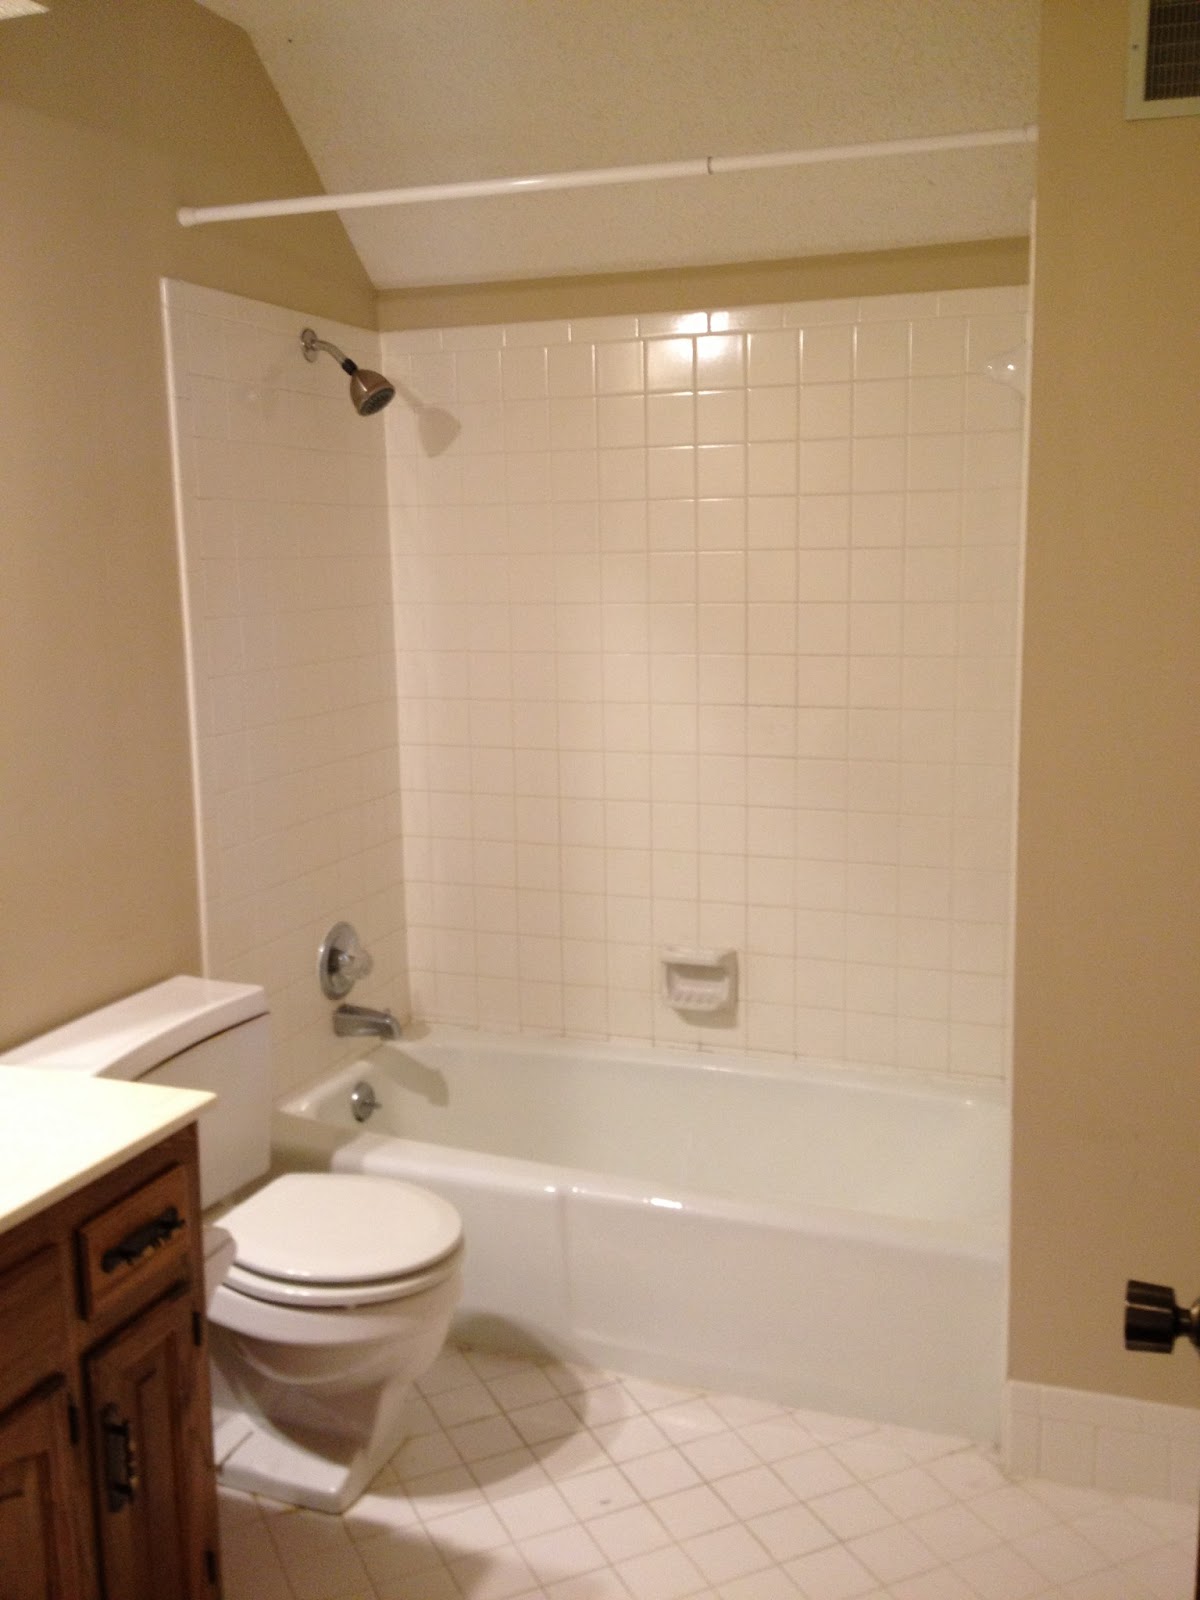
Hubby installed the tub/shower faucets and I think that's it. What a journey. So happy with it and my son is happy he has his bathroom back. So below is the before picture.
And here is the after!

I think I am happiest with the floor. Definitely my best work.

The baseboards look awesome.

Rid of the huge builders grade mirror and poor lighting!


I love the vanity color.

And what man doesn't like a dual flush toilet?

Yes that is dirty laundry in the basket already. :)

All I need is a couple of pieces of art for the walls and I am set. It has been a trying journey. Not everything went smooth but it was all worth it. This is our forever home. We intend to enjoy every minute we are in it. God has blessed us in so many ways and he has blessed me with you. Thanks for coming along with me on this adventure. I should have more time to do other projects now so check back soon!
Linda
2 comments:
It looks so AWESOME! You guys did a fantastic job. You make me want to tackle my bathroom! One of these days....
Thanks Kris! It was hard work but I know you could do it too!
Post a Comment