
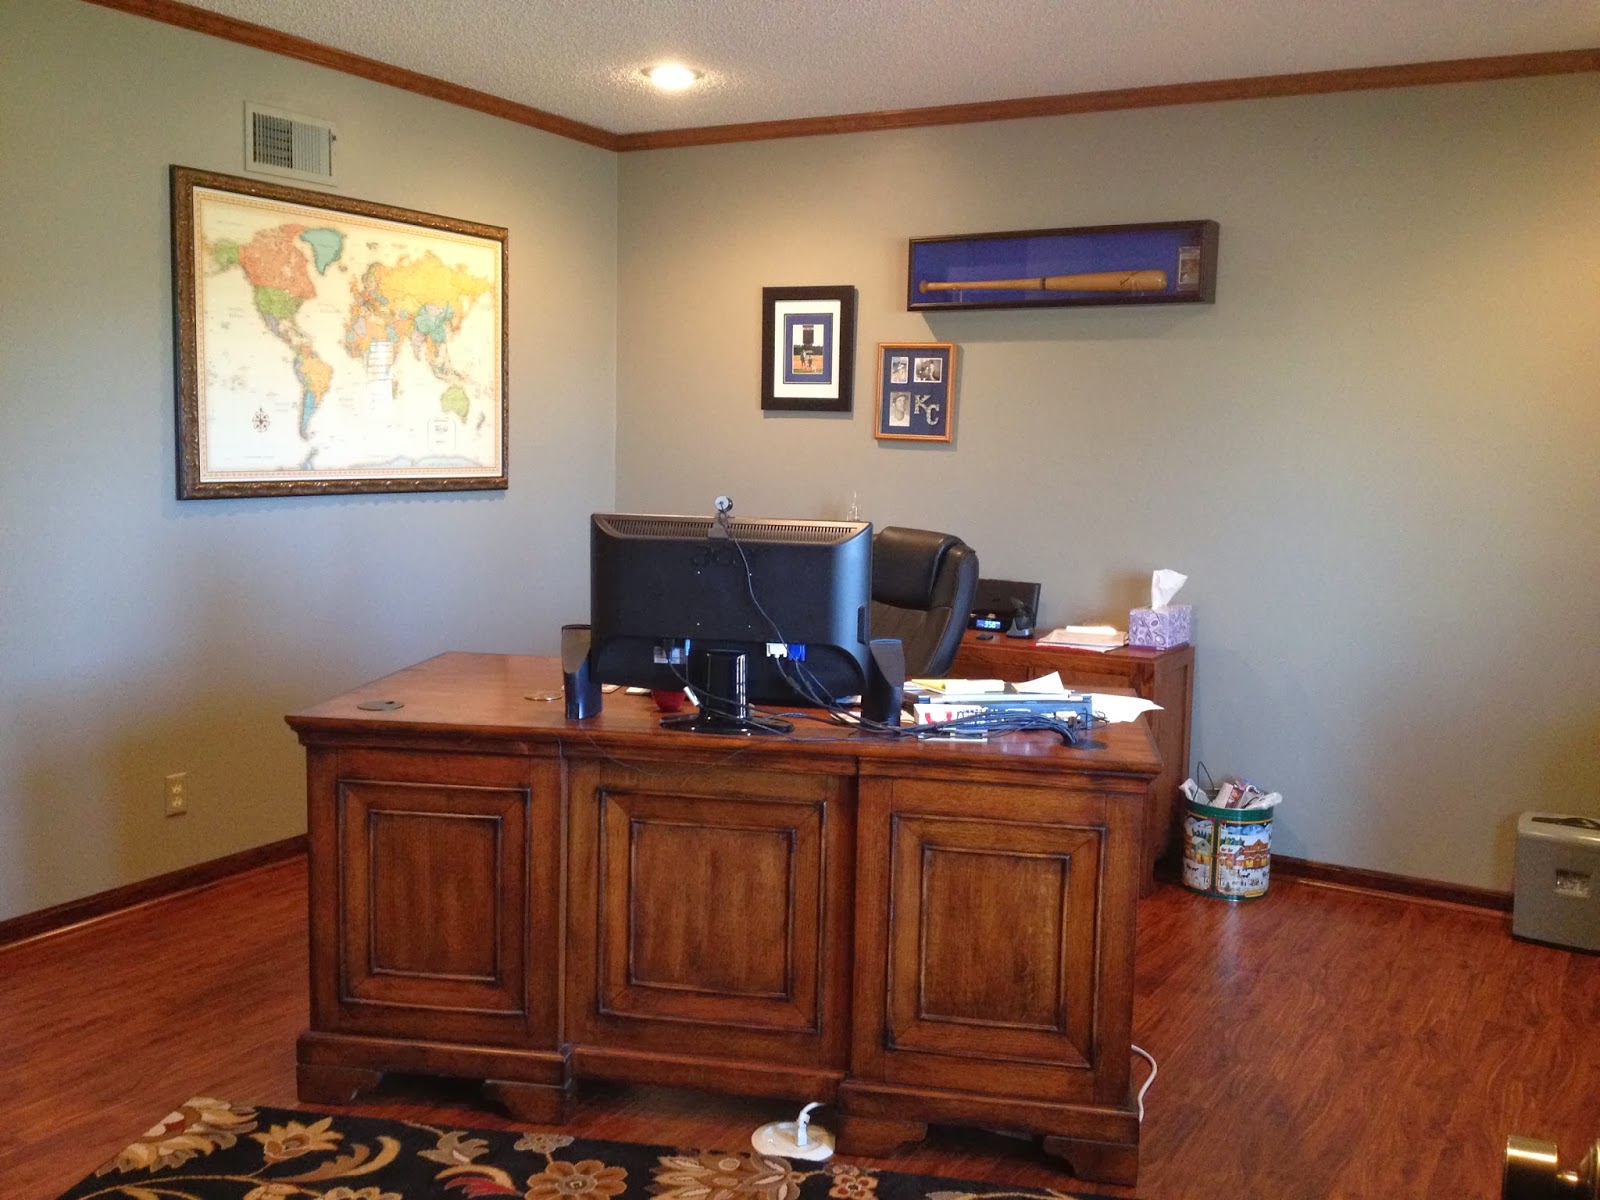
With two rooms under our belt it was time to give my husbands office an upgrade with new flooring. And why not he is lucky enough to work out of his home he deserves the best. Here is a before picture. I'd already started removing furniture and things off the walls.


I really wanted this carpet out of there. So I got right to work.

Taking a utility knife and cutting the carpet and pad into manageable sizes is the first step. Plus this will help with disposal. Some cities allow curbside pick up for a small fee. My method is to fill up the SUV and have hubby take it to the dump. It too is a small fee. But what man doesn't like to take a trip to the dump. Hmmm, must be a man thing.

Next step, cleaning up all the staples and nails so I have a clean surface.

I couldn't resist. while the room was empty and I was about to pull the base boards I thought this would be a great time to choose a new wall color. I choose the color on the right. "Tornado Watch", it's a Valspar color I got at Lowe's. I didn't want to go too dark. This room faces north so doesn't get alot of light. Paint while nothing is in the room and baseboards are removed. It makes it so much easier.

Bring your flooring in to get it acclimated to the temps in the house. And now you can see where all the stuff from the office went to. Who knew his closet could hold so much? My flooring is Golden Teak. Engineered, handscraped, floating floor. I got it at Lumber Liquidators. The store in my area has people that are very helpful to someone like me that is a DIYer.

I set up my work station right outside the front door. Handy, yet keeps alot of the dust outside. You'll need measuring tape, speed square, jigsaw, clamps, marking pencil and a miter saw.

So get started. There are some really good video's on the Lumber Liquidator site to show how to lay a floating floor and You Tube is filled with them. Another go to is the DIY channel. Measure, cut, make sure seams don't land closer than 12 inches from each other. Always buy plenty as you'll have more waste than you think. I used a Dremel tool to cut the bottom of the door jams. To get the right height place a piece of your flooring down and saw above it for a perfect fit for the new flooring to slide under it.

I took the flooring into the hall and that means including another closet. Don't be afraid to work in small spaces.

You'll be pleased with the results.

Next it was time to get to work on the trim. You already know I'm frugal. I removed the existing trim, sanded it down and chose a matching stain. Adding three coats of polyurethane. I purchased quarter round, stain and polyurethane went on that too. Cut to fit and install. I used a finish nailer. Be sure to miter your corners for a professional look.
And now what you've been waiting for the finished product. I had to wait to for this step as I hired electricians to come install can lighting in the room. It gave excellent light and really updated the look of the room. The old single "boob" light in the center of the room just wasn't cutting it.

I love how the room turned out. I found this rug at Lowe's. It really brought all the elements in the room together.
And now what you've been waiting for the finished product. I had to wait to for this step as I hired electricians to come install can lighting in the room. It gave excellent light and really updated the look of the room. The old single "boob" light in the center of the room just wasn't cutting it.
I love how the room turned out. I found this rug at Lowe's. It really brought all the elements in the room together.
One can light in the center of the room and one in each corner was enough for just the perfect lighting. We had it hooked up to existing switch and they put a dimmer on it as well. Bonus! Remember when adding cans, take the height of your ceiling and that is the diameter one can will illuminate onto the floor. Ours were 8ft ceilings, each can lighted up 8ft on the floor. This room is only 13X16 so more lights would have been too much.


Rearranging hubby's memoribilia on the walls, adding this thrift store chair find and repainting an end table someone left out for the trash...New Office finished.
He is super happy with the result and so am I. Thanks for checking in on me. Leave me a note to let me know what you think. I do truly love hearing from you.
Linda
He is super happy with the result and so am I. Thanks for checking in on me. Leave me a note to let me know what you think. I do truly love hearing from you.
Linda
2 comments:
The office looks fantastic! I need to make it over to see it in person. I like the rug and your chair and table makeovers turned out great.
Thanks Jodie. We need to get together to do some crafting.
Post a Comment